Preparing the doorway correctly is essential for a safe, precise, and seamless elevator installation. Every opening must match the signed Elevator Boutique Final Drawing and be built to carry structural loads, align with finished floors, and suit the final wall finishes. This guide outlines everything your builder needs to prepare before our installers arrive.
For more detailed planning information, download our Builder's Guide.
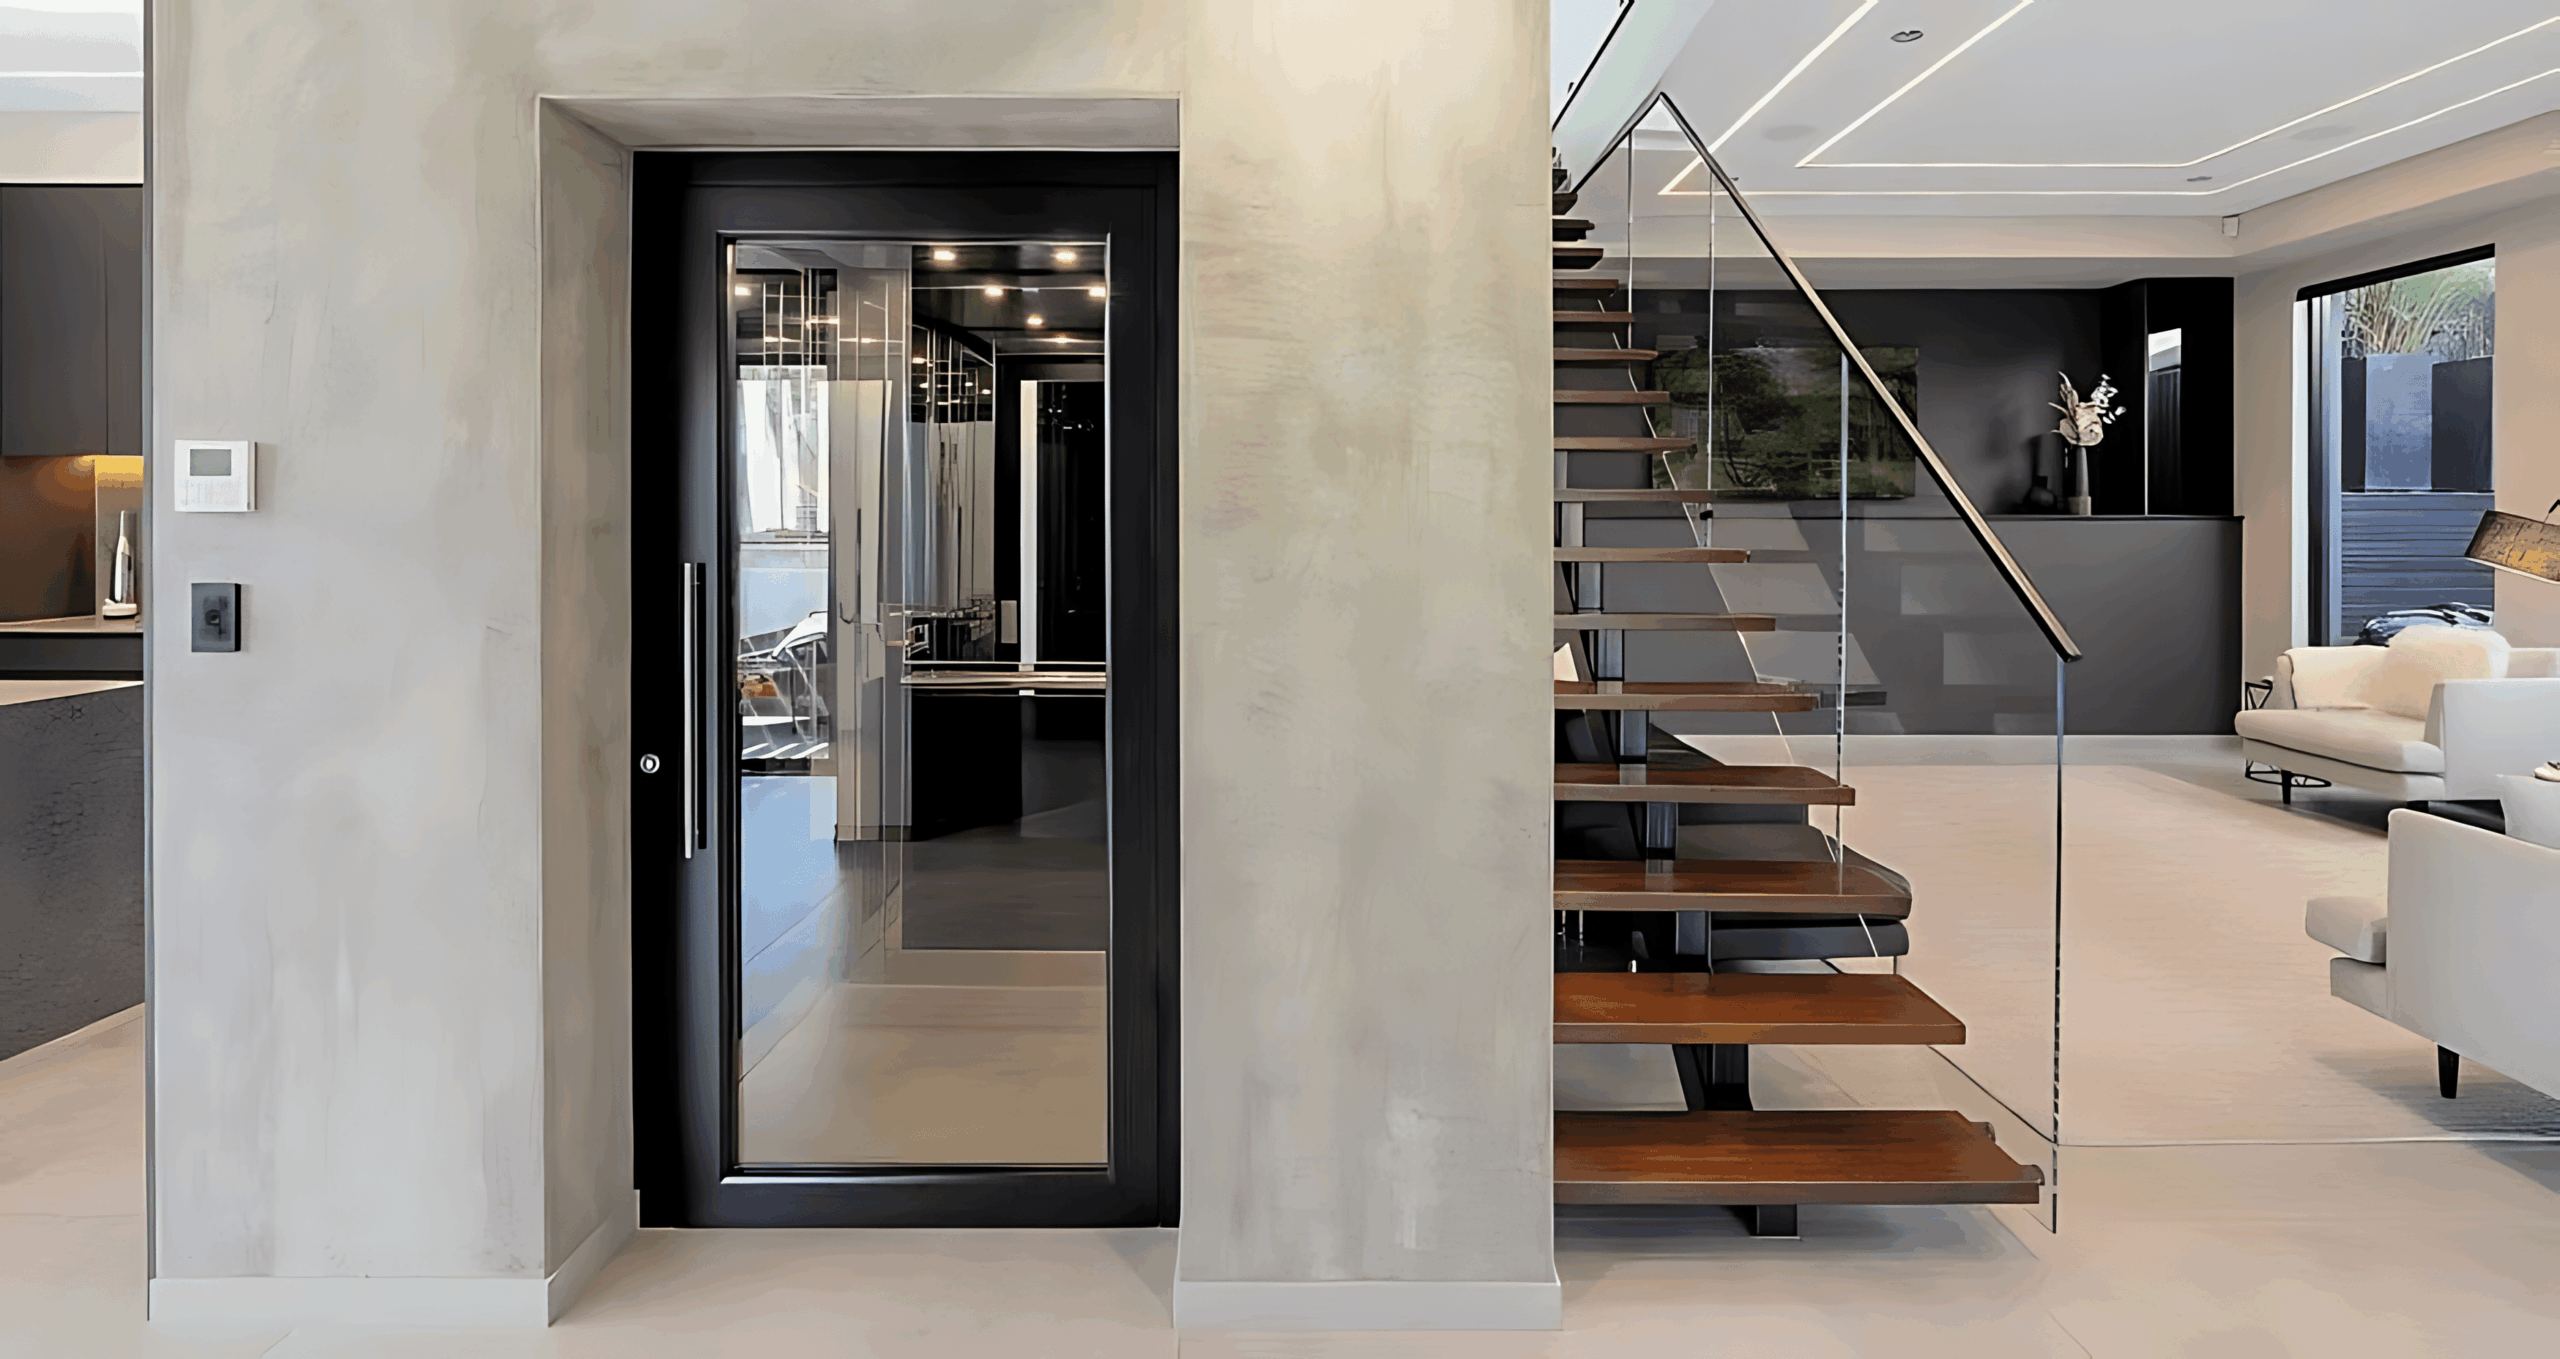
Each door opening must be built exactly to the approved Elevator Boutique drawing. All openings must be square, level, and plumb from floor to ceiling.
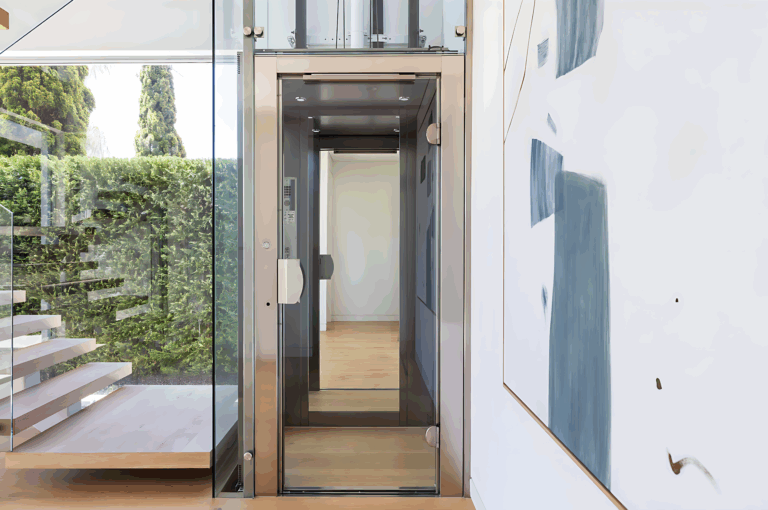
Elevator doors anchor directly to the building structure. Solid supports must be in place before installation.
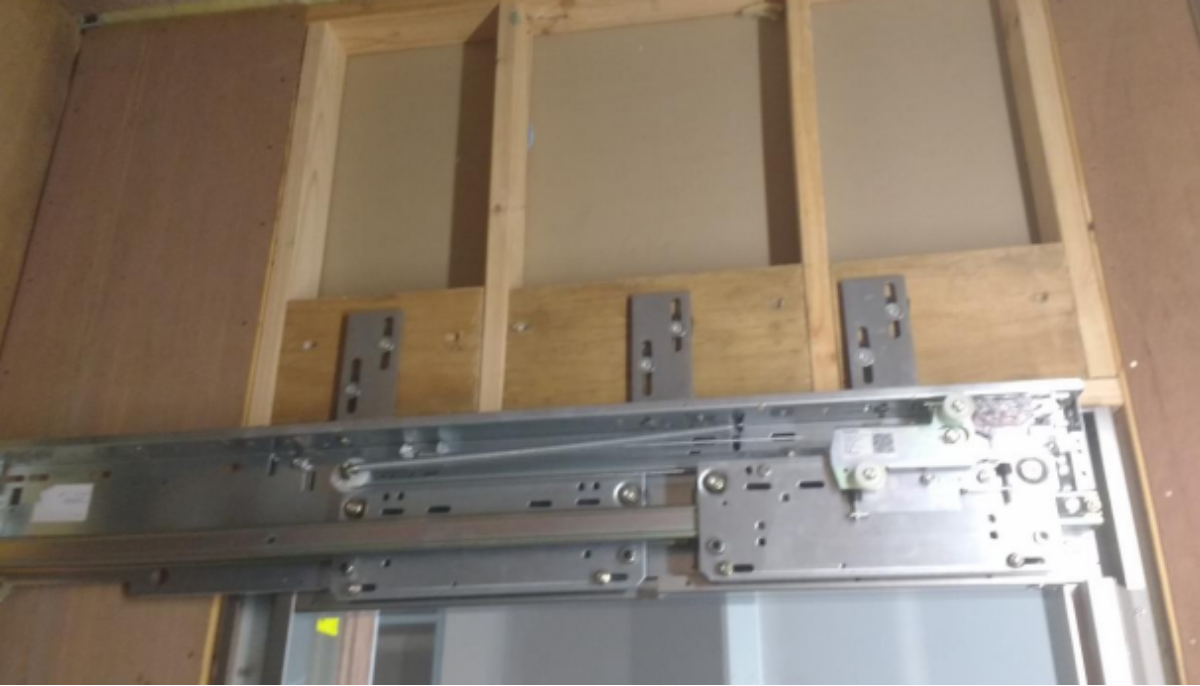 Structural support detail. Click to enlarge.
Builders can finish doors to blend seamlessly with the wall or millwork. Follow these limits to ensure smooth operation and long-term reliability.
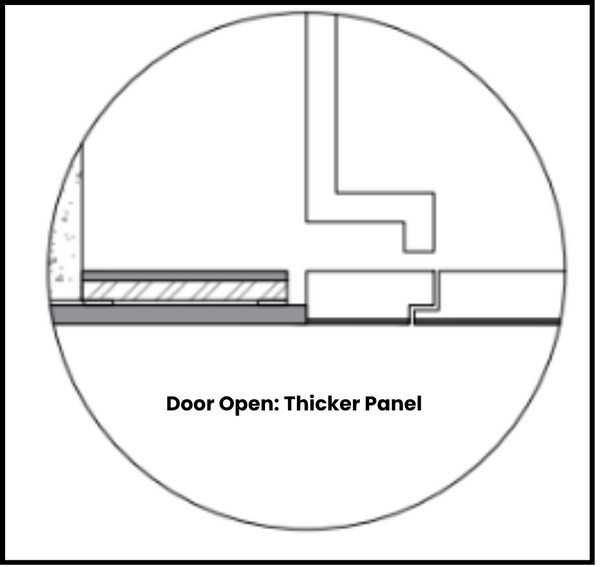
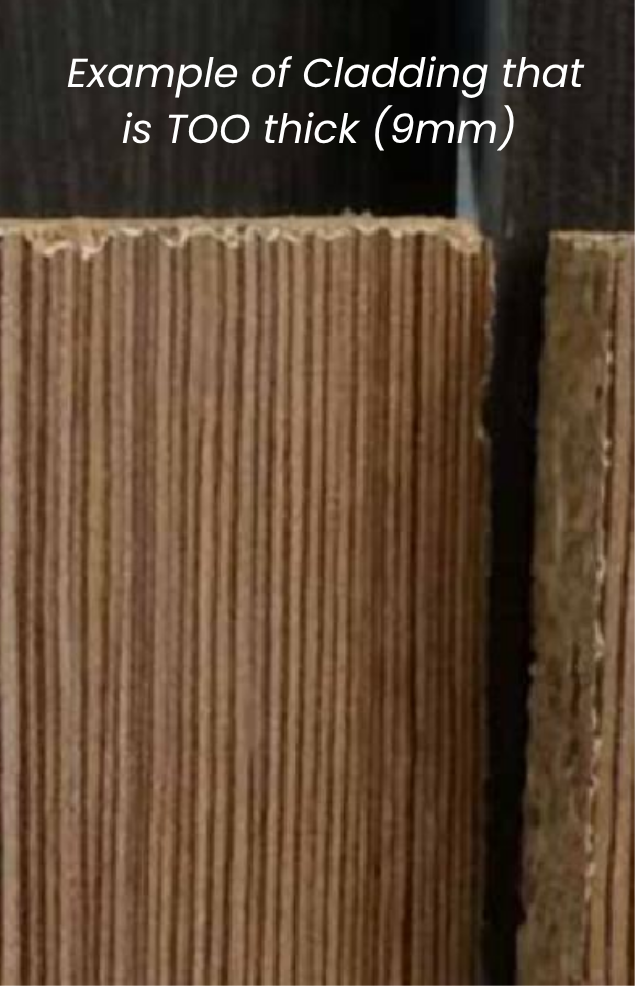 Example of cladding that is too thick (9 mm, about 3/8"). At this thickness the door cannot seal or swing correctly. Dimensions shown in mm (25.4 mm = 1").
Each landing includes a call button plate and an emergency key access point. Space and access must be left clear for these components.
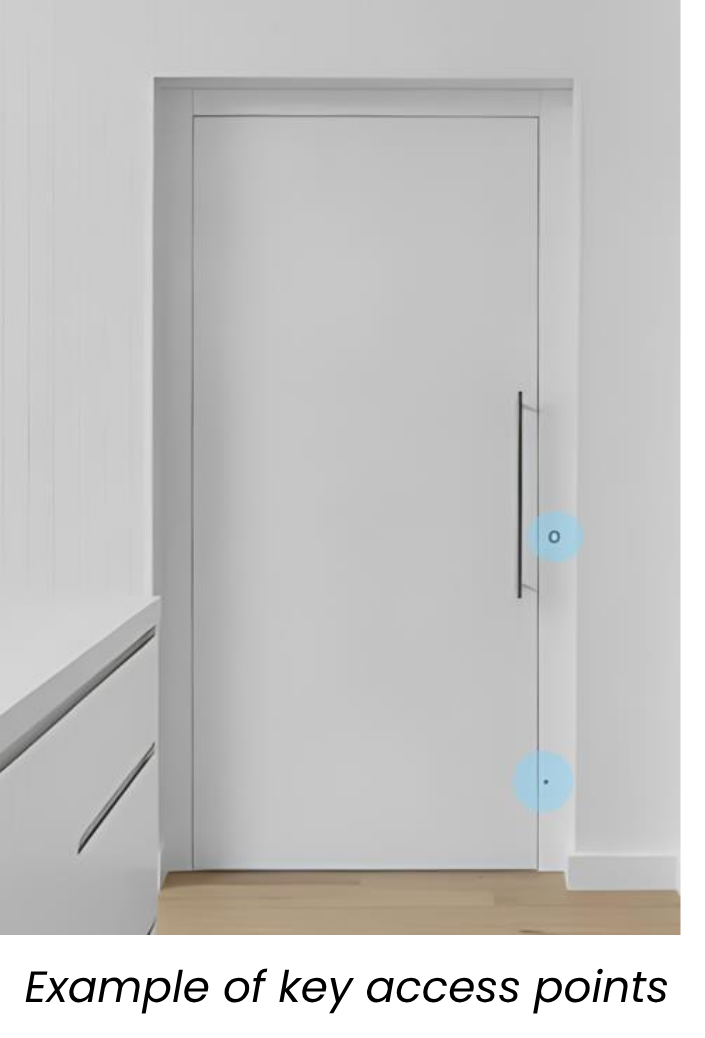
Button plates can be color-matched or finished to suit the surrounding wall. Openings are cut only after the door is installed.
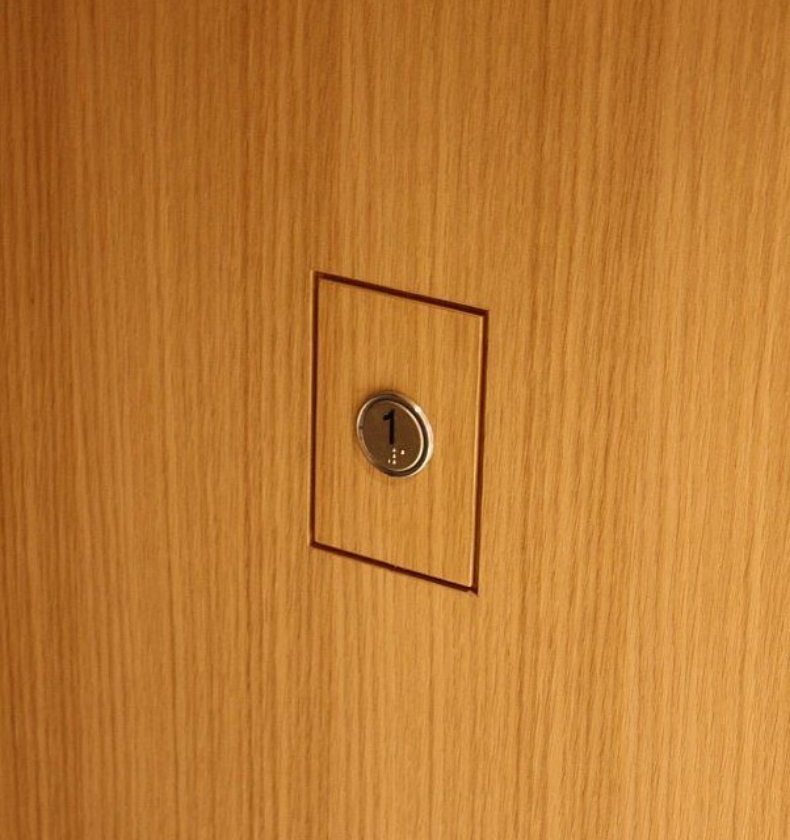
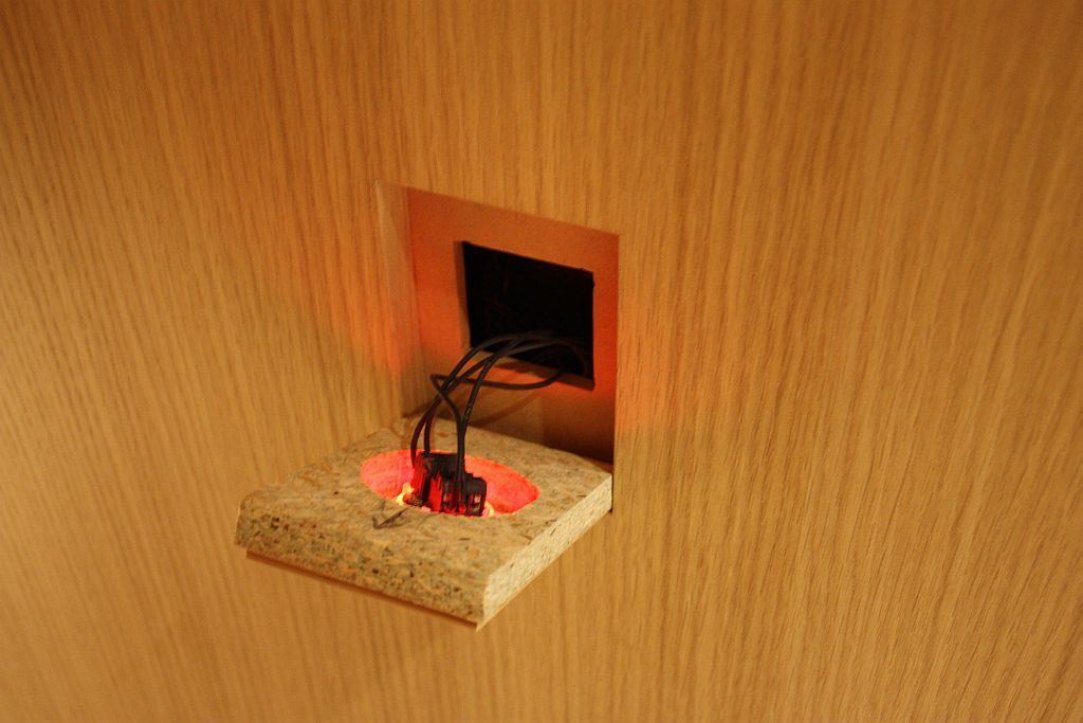
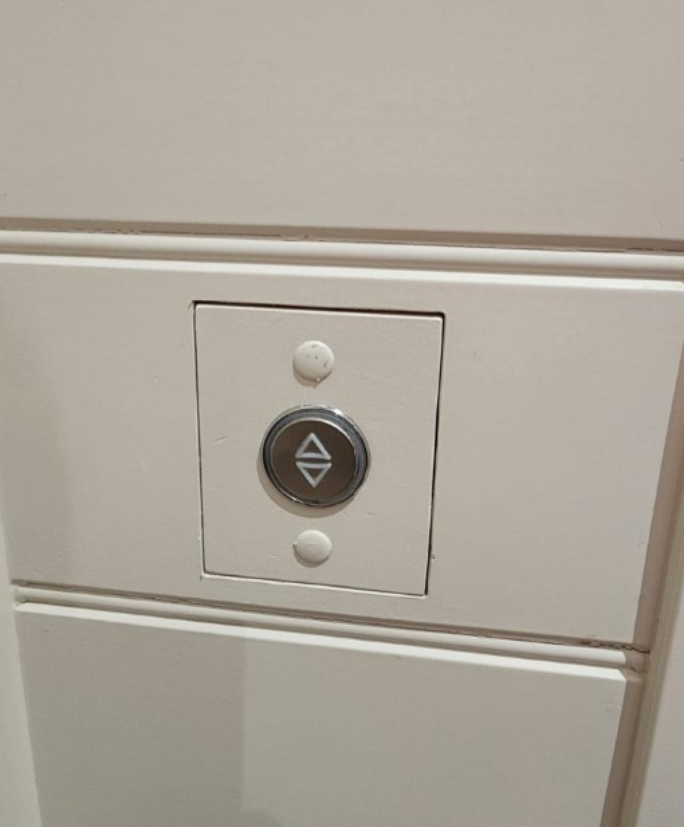
Correct spacing and alignment ensure reliable performance and a clean finish.
| Component | Requirement | Note |
|---|---|---|
| Door swing clearance | Door must open freely without obstruction | Check before final cladding |
| Floor-to-sill transition | No lip or step greater than 1/8" | Builder to level to finished floor |
| Wall alignment | Consistent wall depth and finish thickness | Match on every floor |
| Between-door walls | Line and finish visible shaft surfaces | Visible during elevator operation |
| Shaft reveal | No services or recesses | Smooth and flush for sealing |

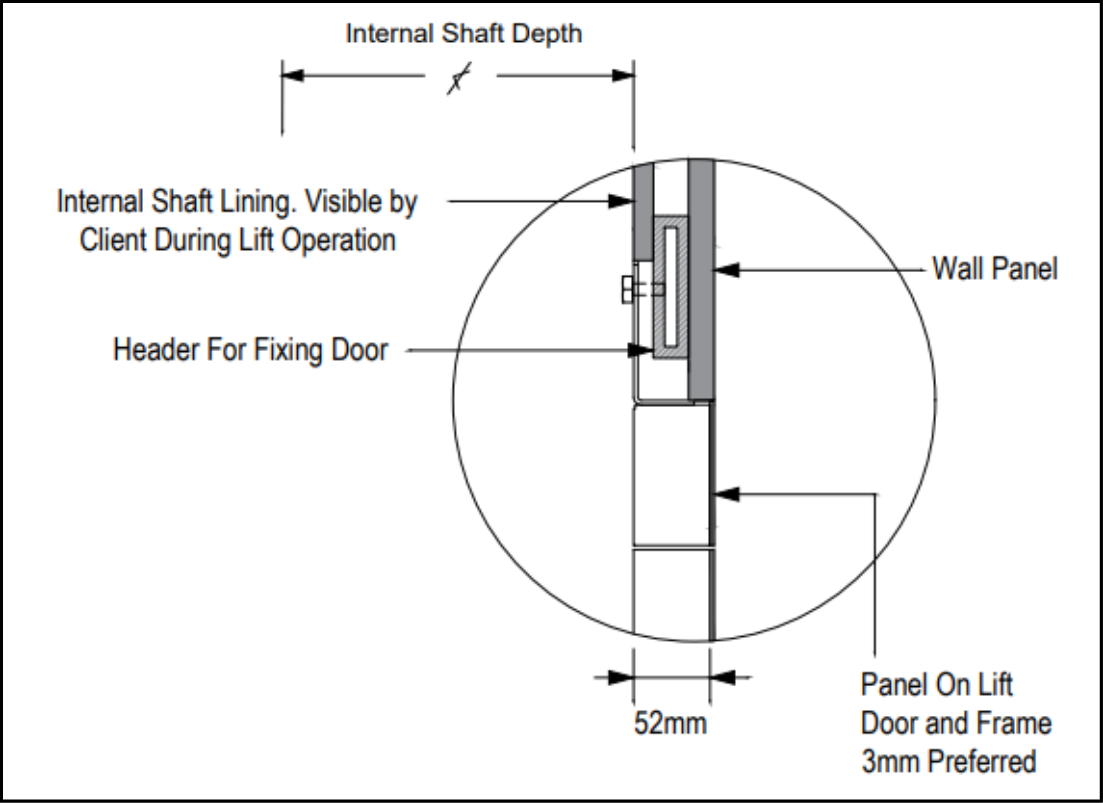

Final-touch details for the landing door. Click any drawing to enlarge. All drawing dimensions are in millimeters (25.4 mm = 1").
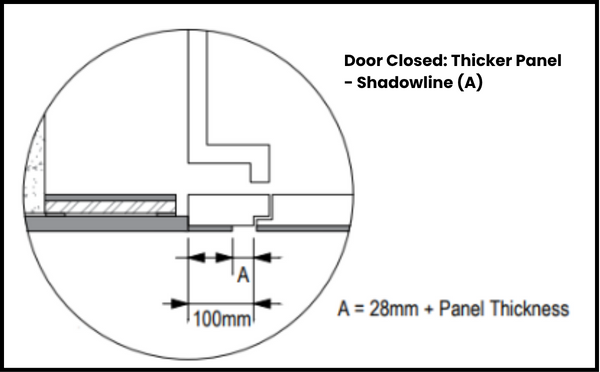
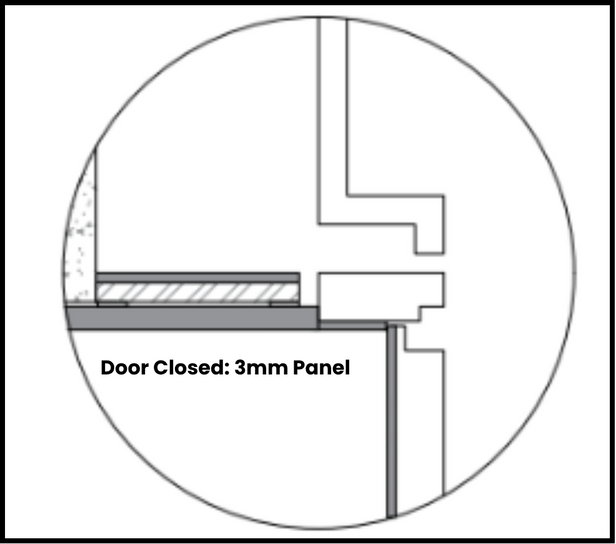
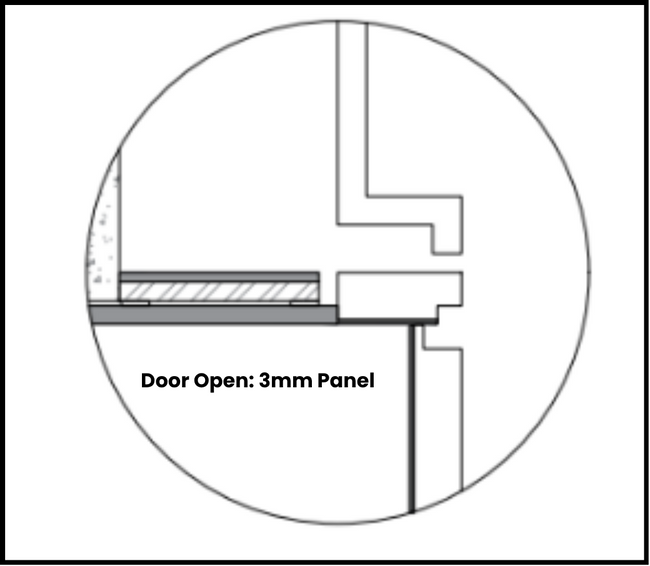
Before Elevator Boutique installation, confirm all site conditions meet the approved drawings and requirements.
Once installation starts, no further structural or finishing changes can be made without Elevator Boutique approval.
For a premium finish, consider these approaches. Elevator Boutique can guide your builder or designer on suitable materials and tolerances before work begins.
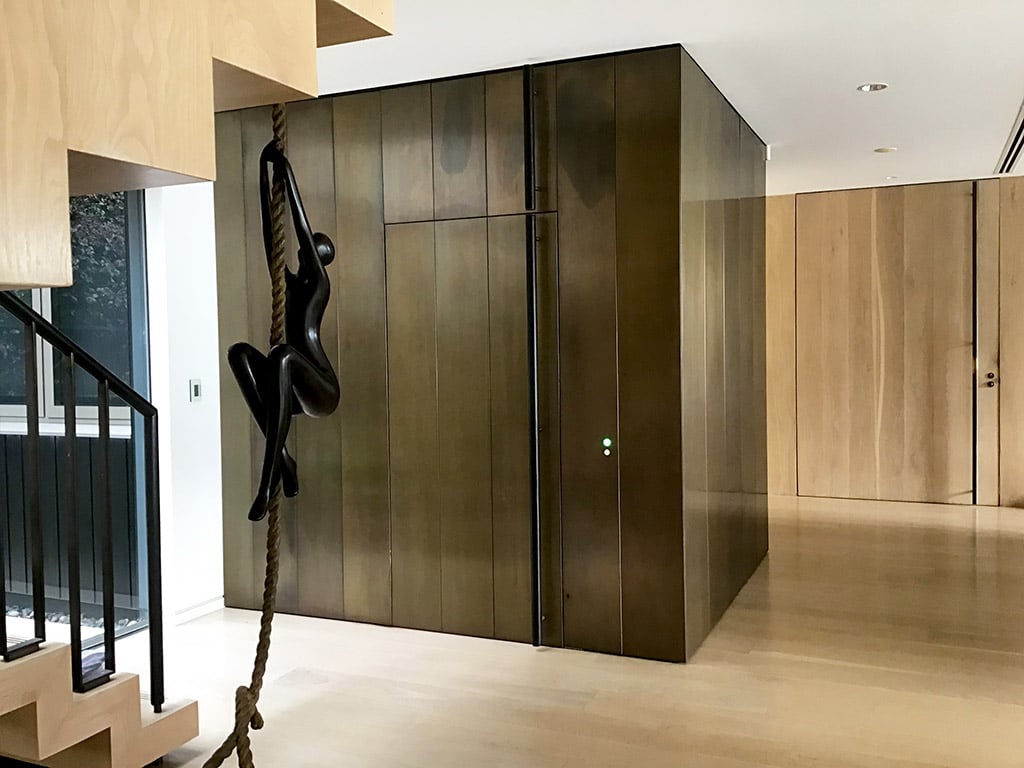
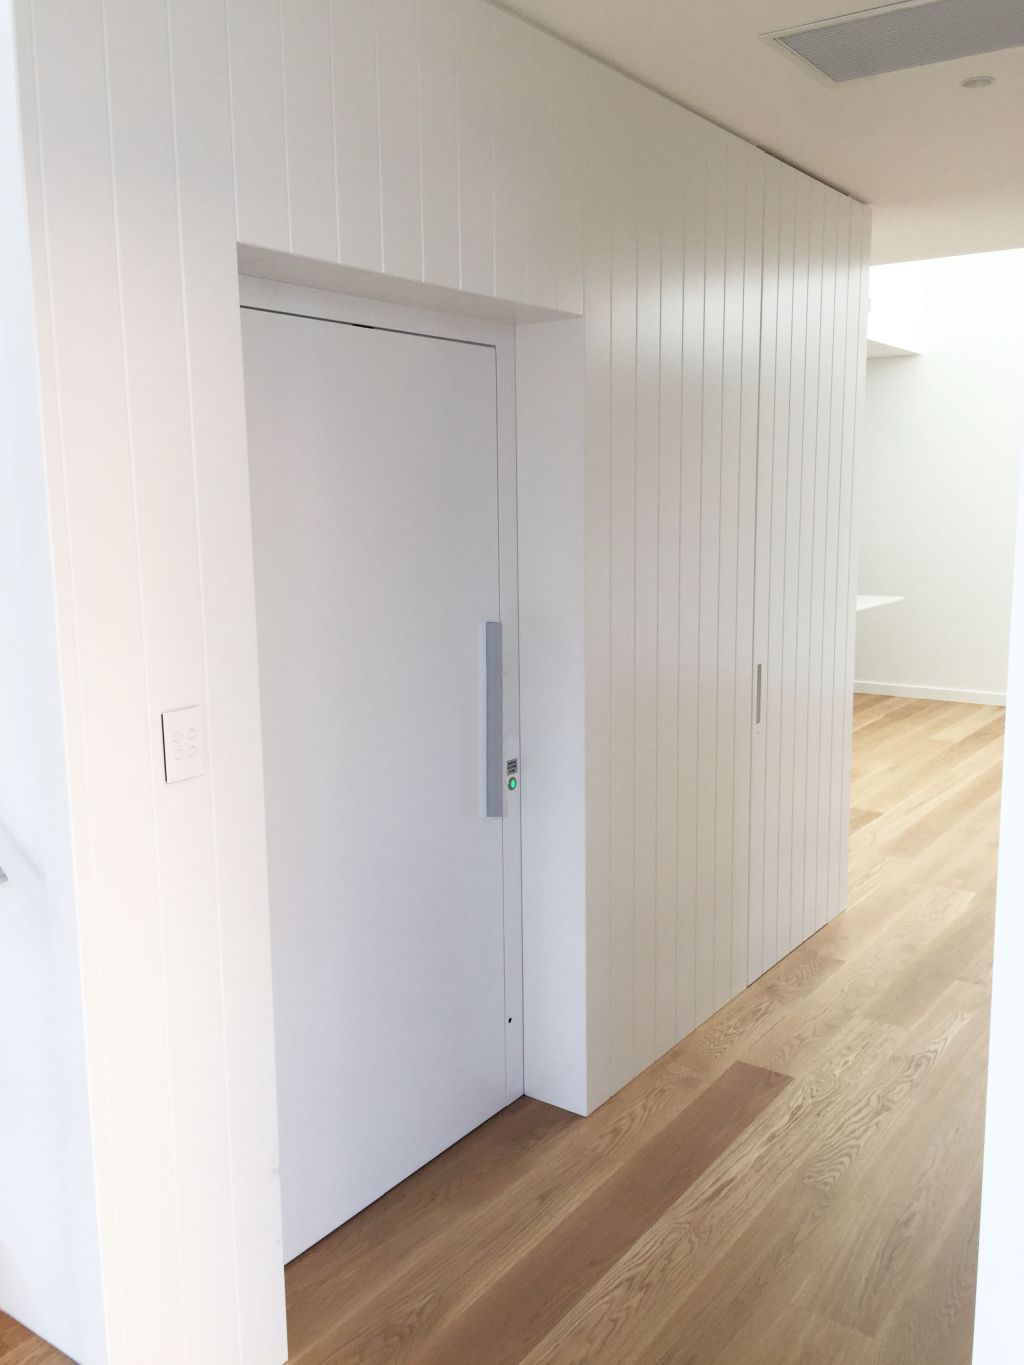
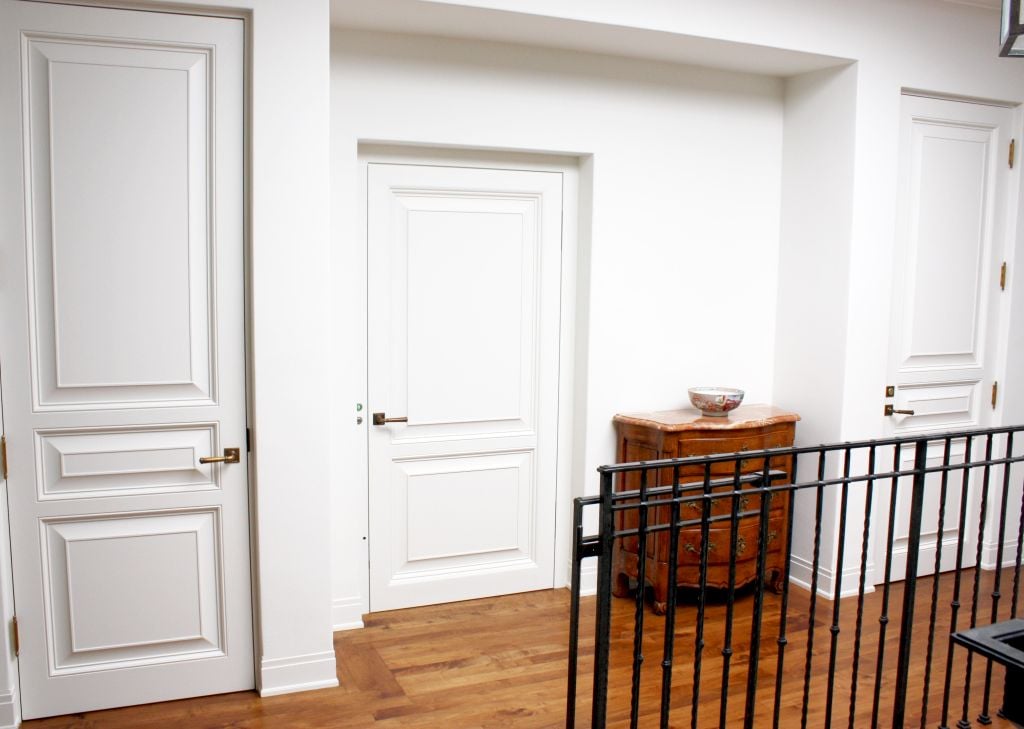
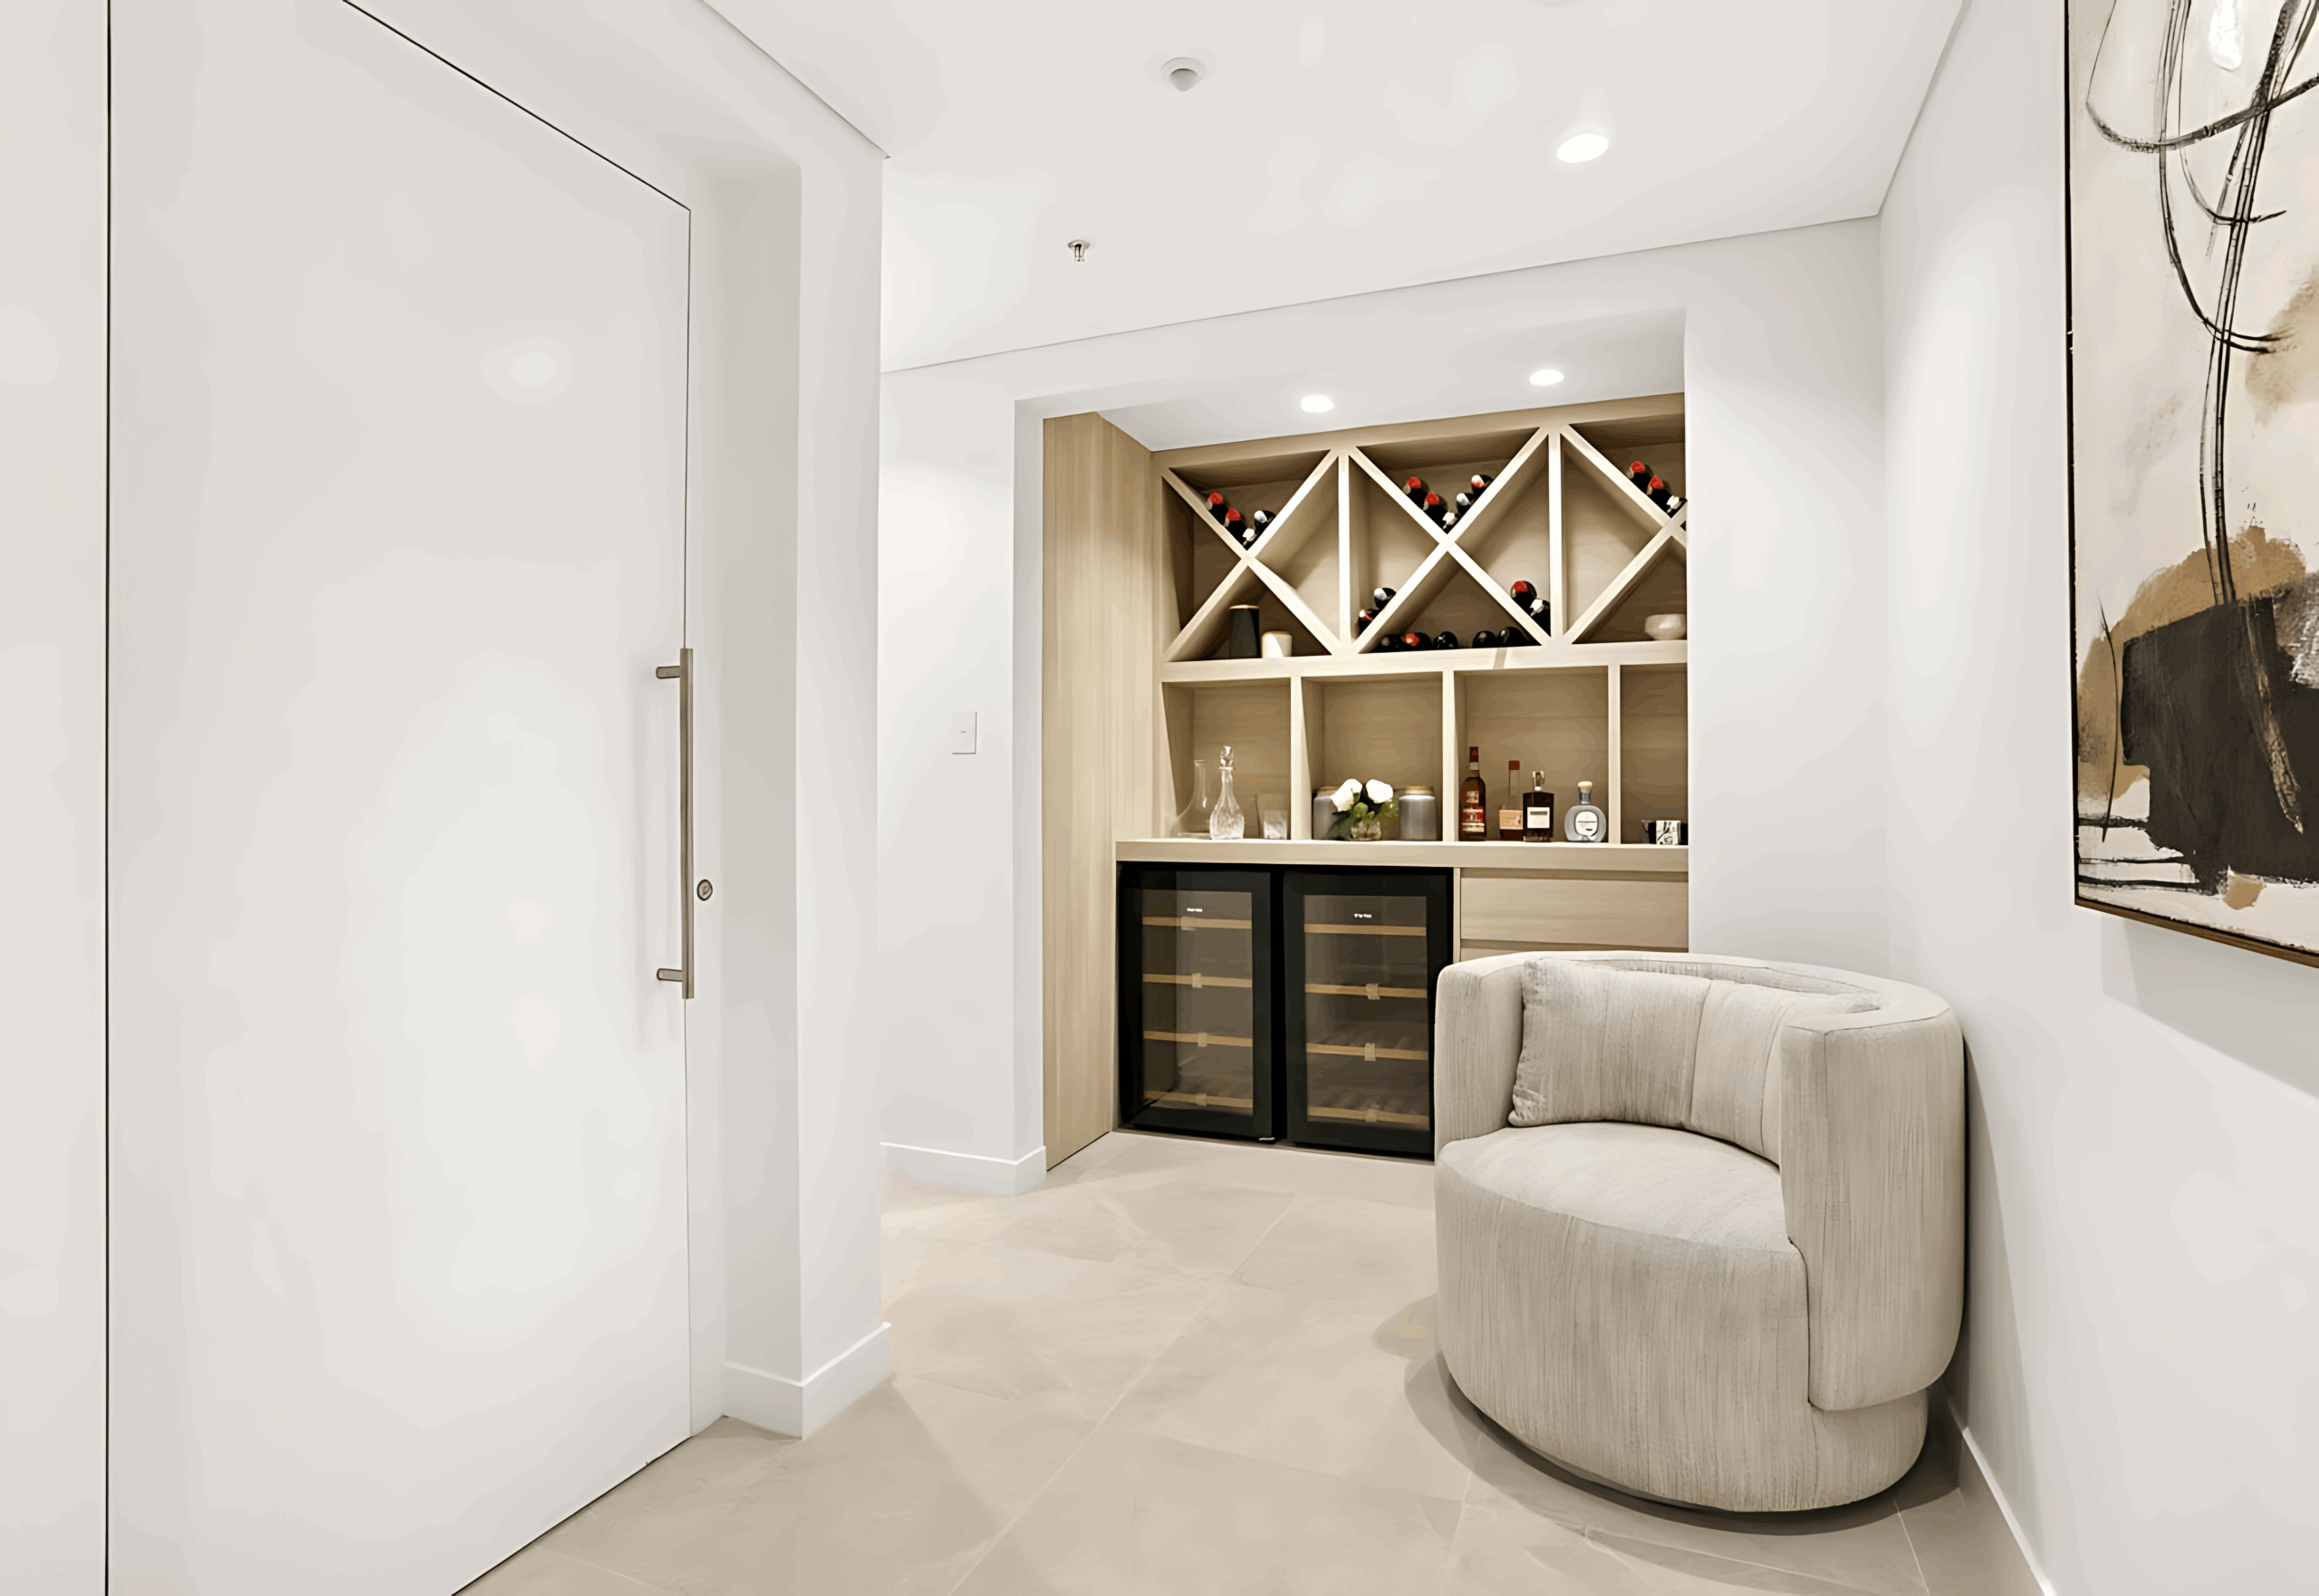
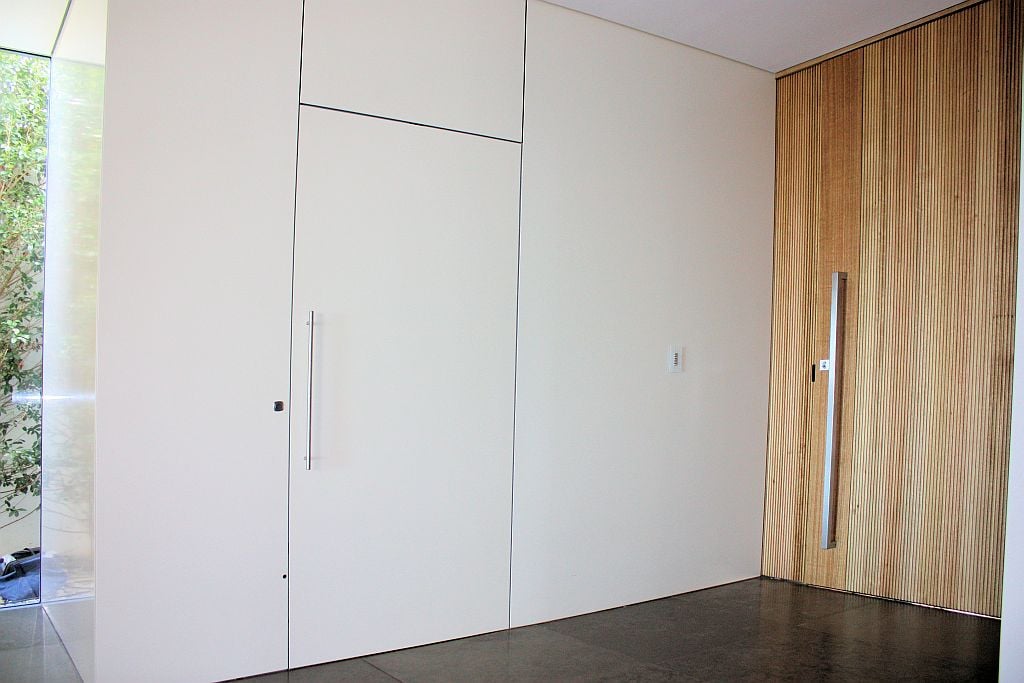
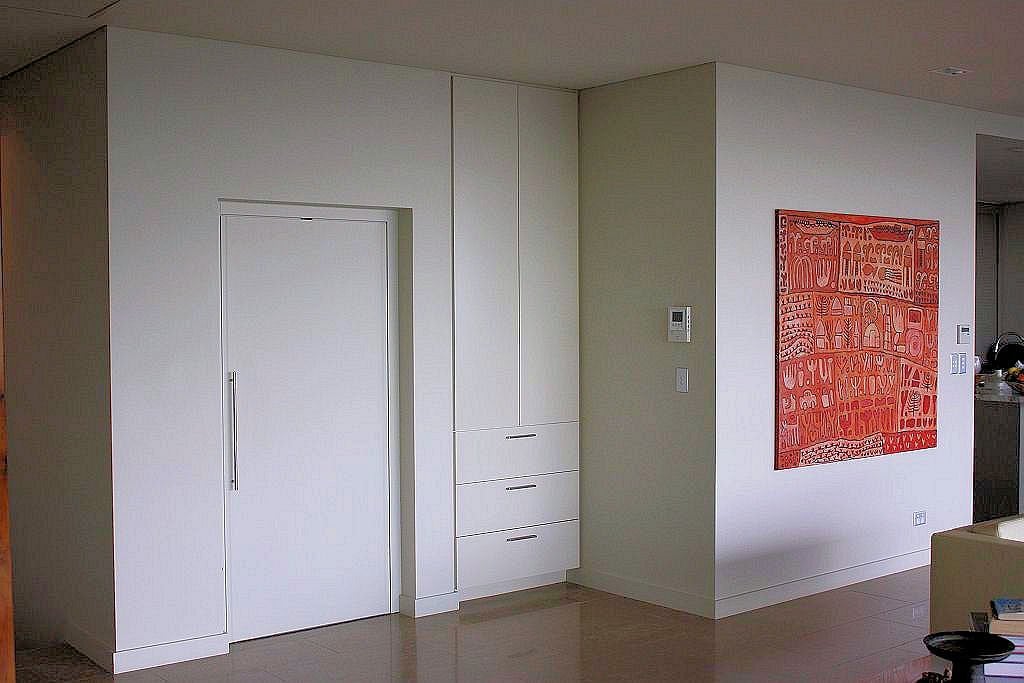
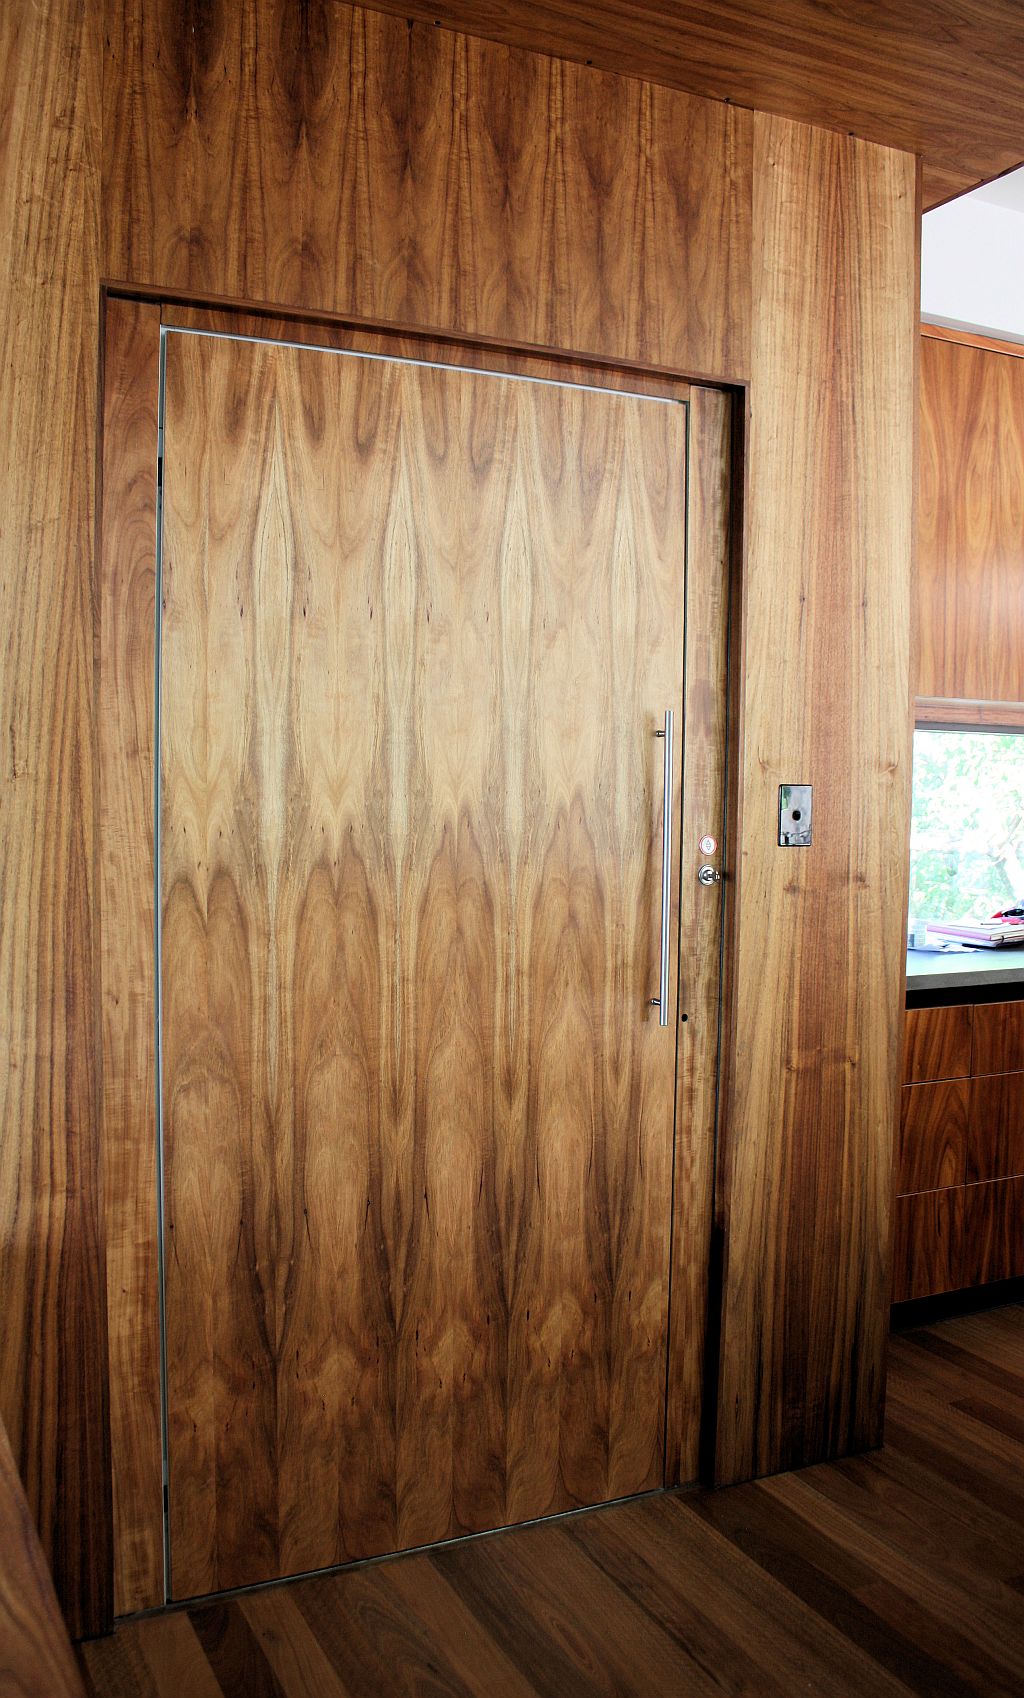
Doors that blend into the surrounding millwork, so the elevator reads as part of the room.
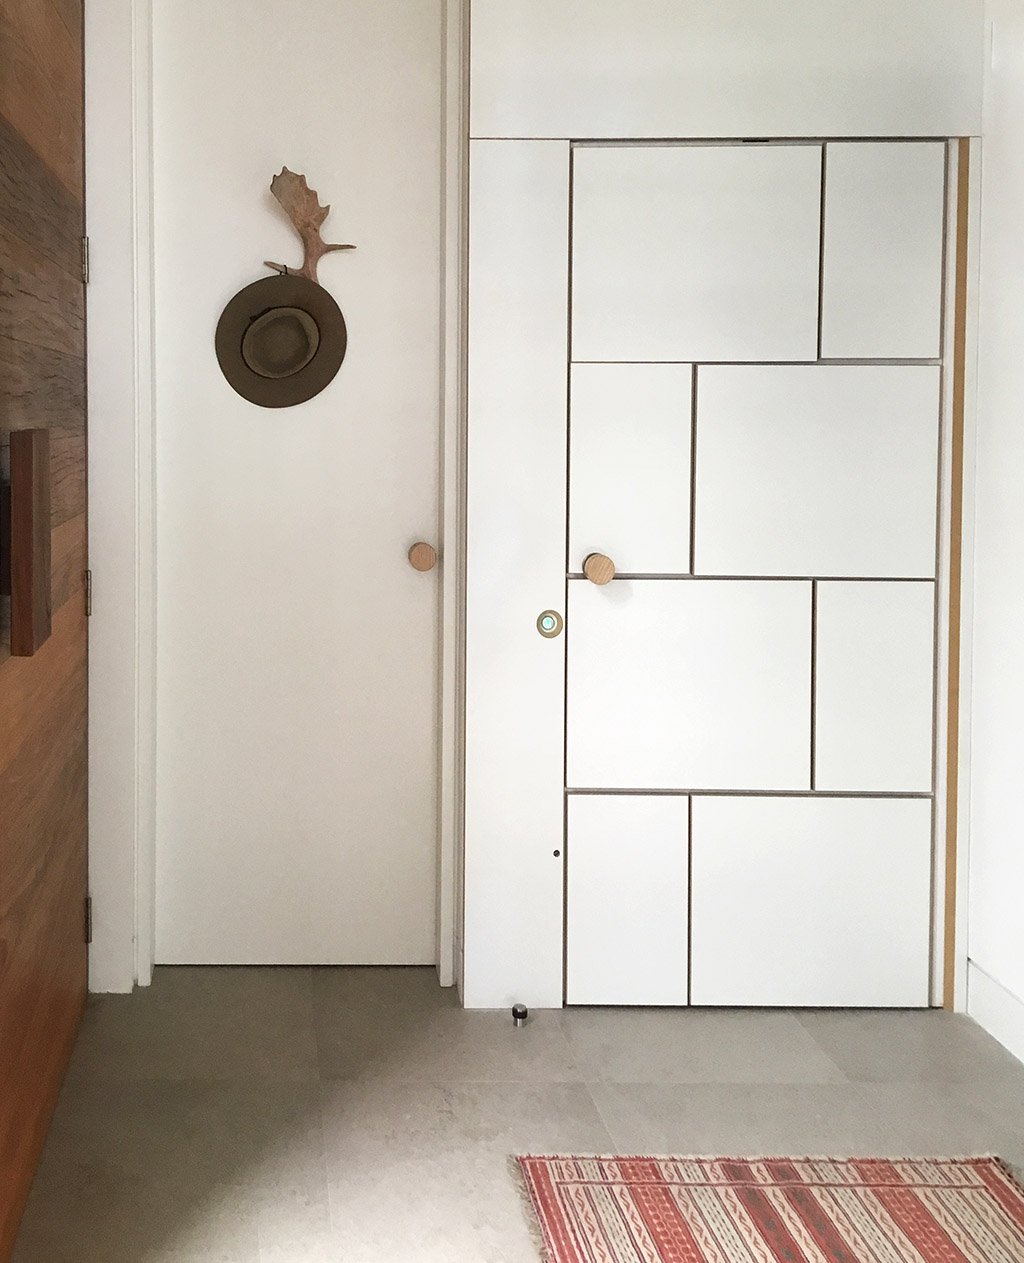
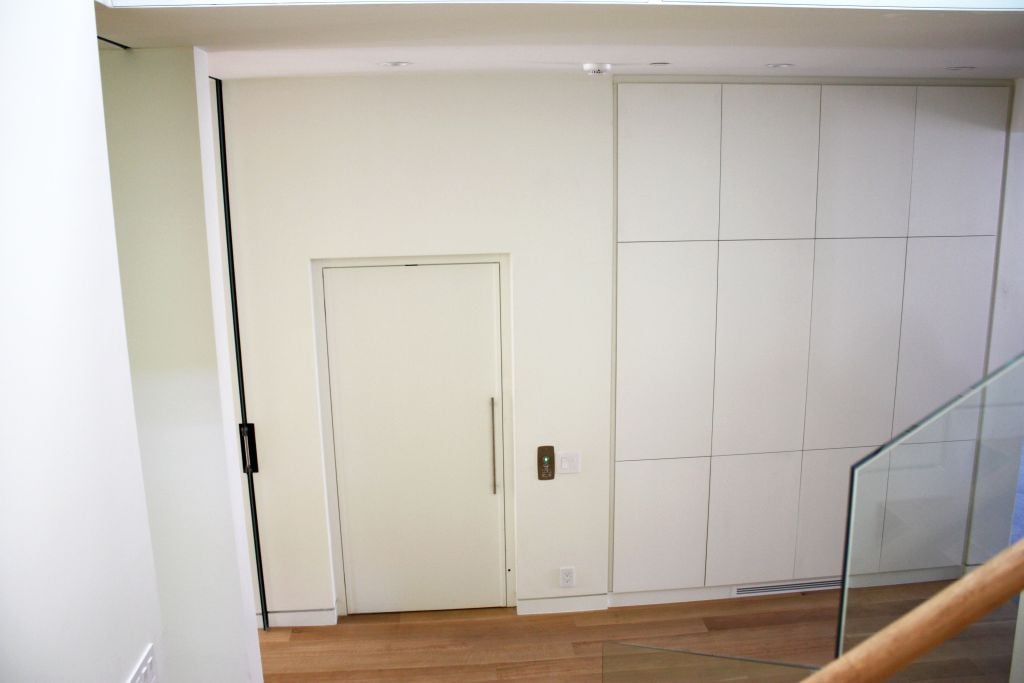
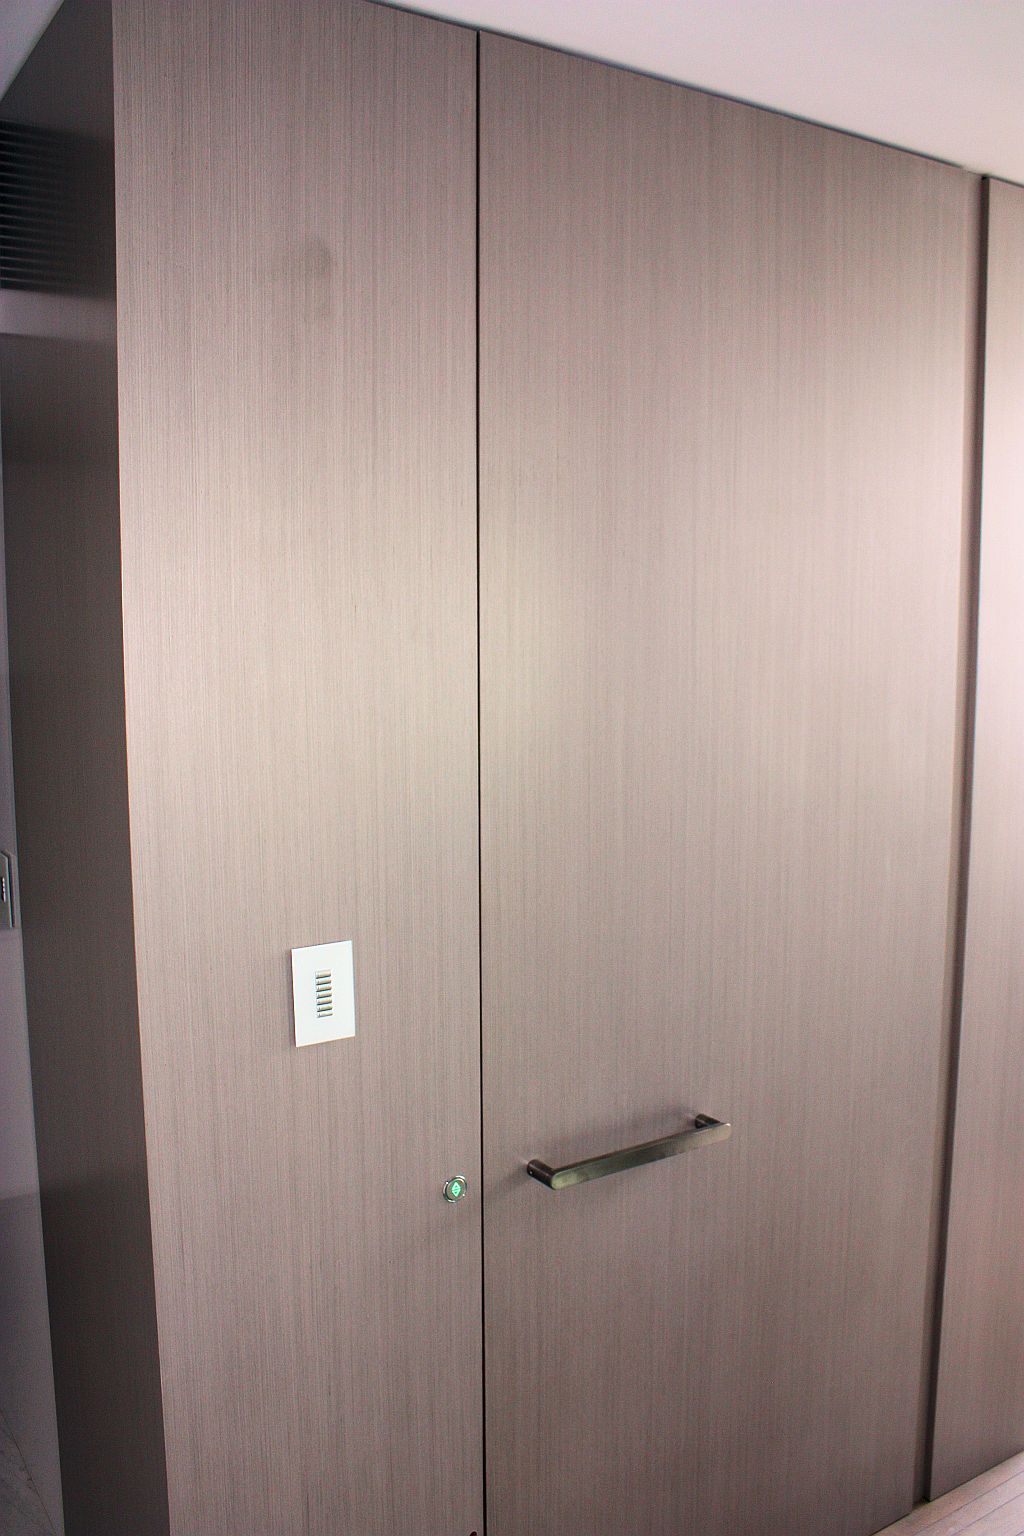
Flush, trimless detailing for a concealed look. Cladding stays within the 3/16" limit.
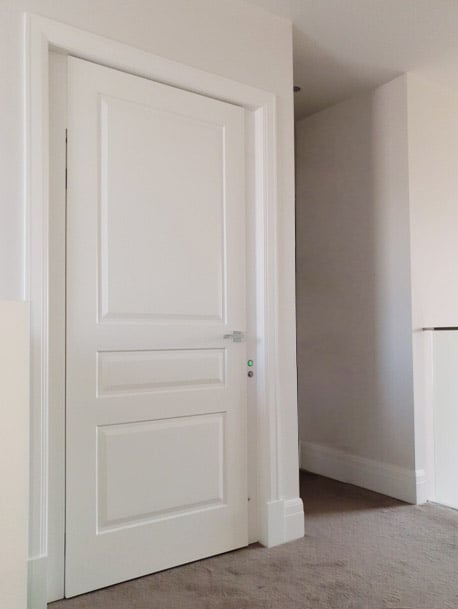
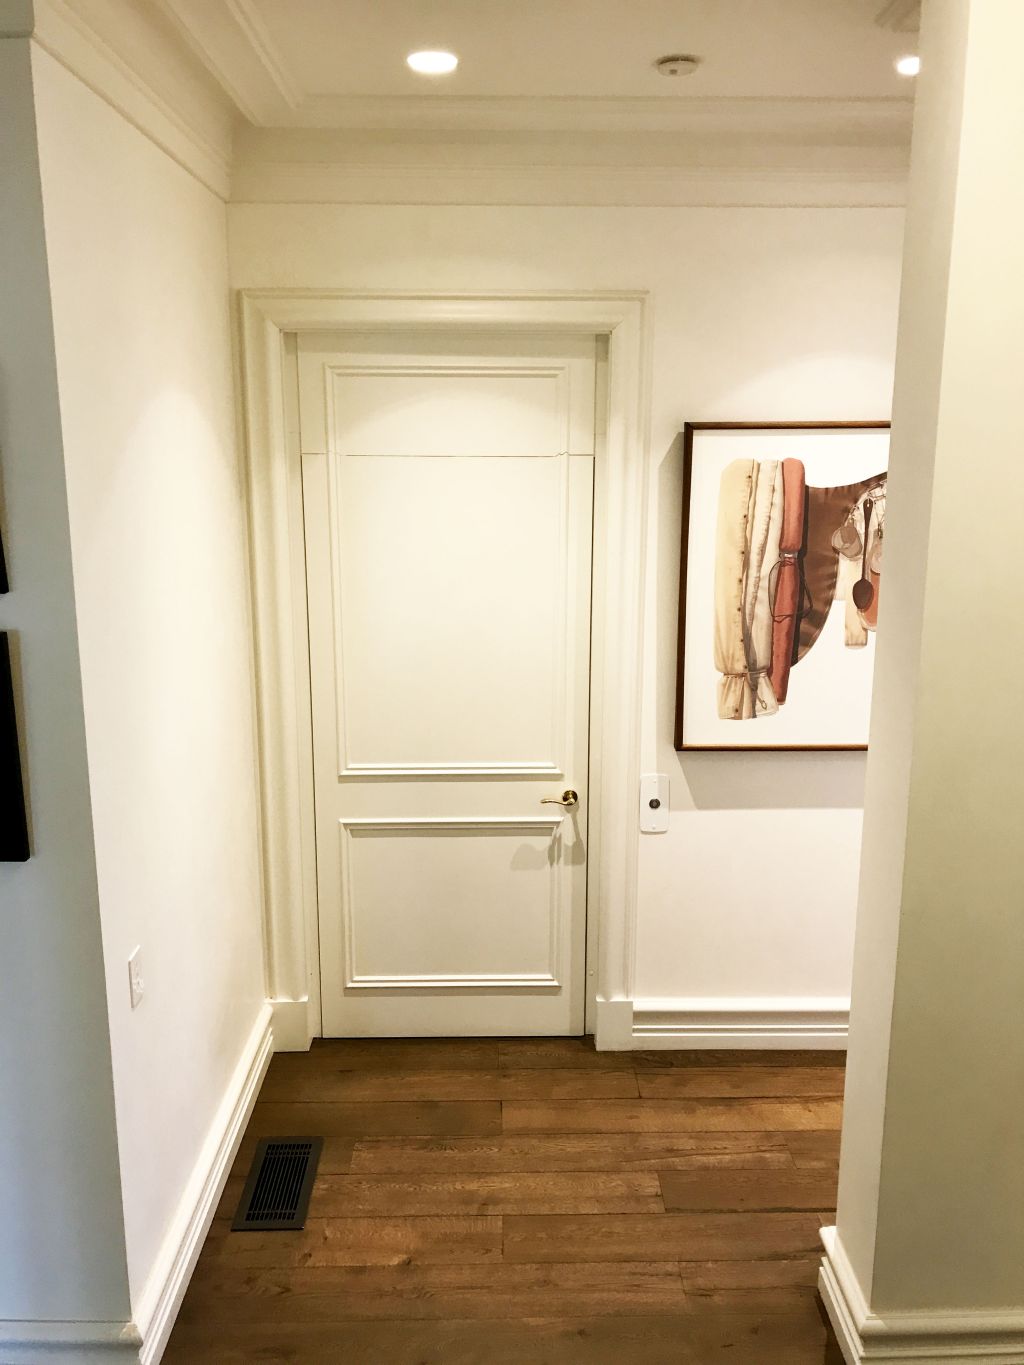
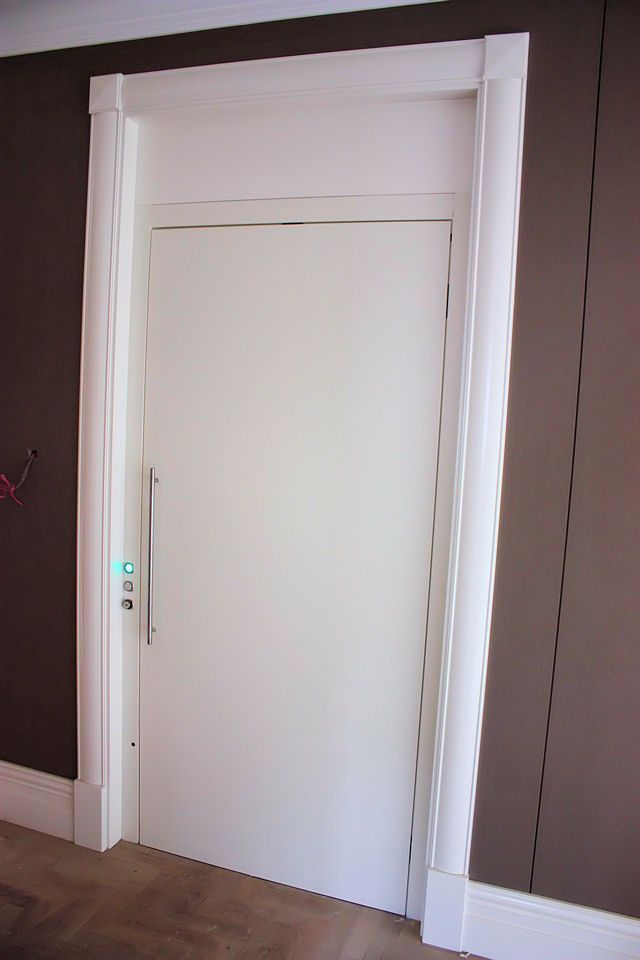
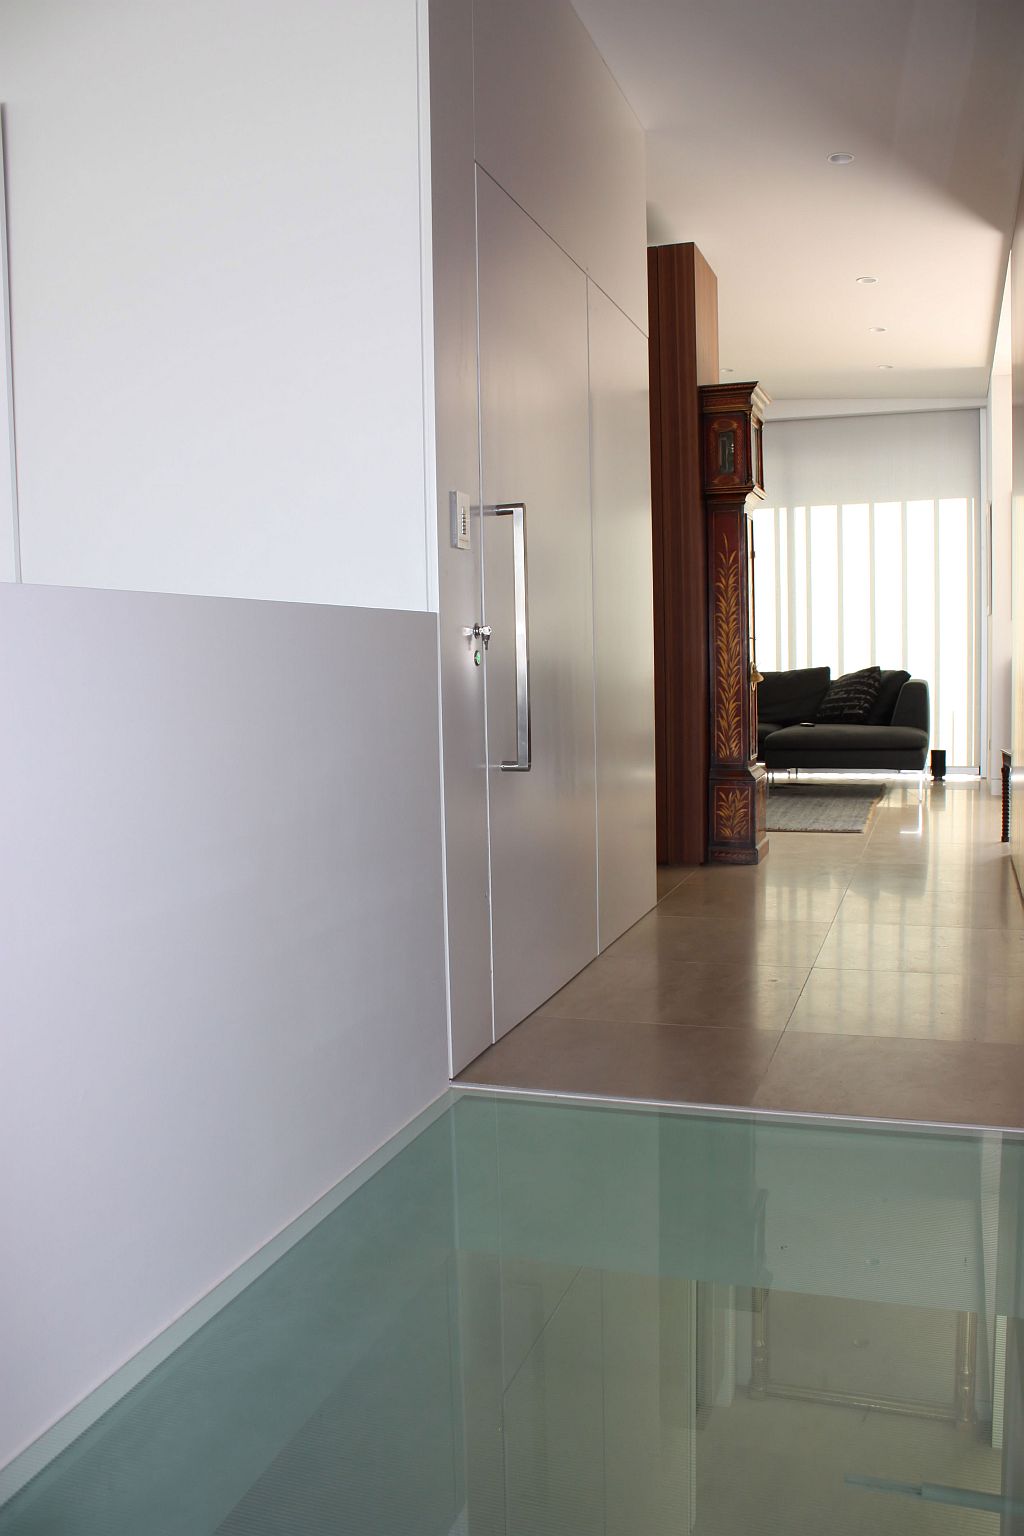
Door frames and button plates finished to match the wall for design continuity.
Practical elevator planning guidance for builders and project teams, covering shaft requirements, door preparation and key considerations before construction.
Complete the short form below and the guide is sent to you.
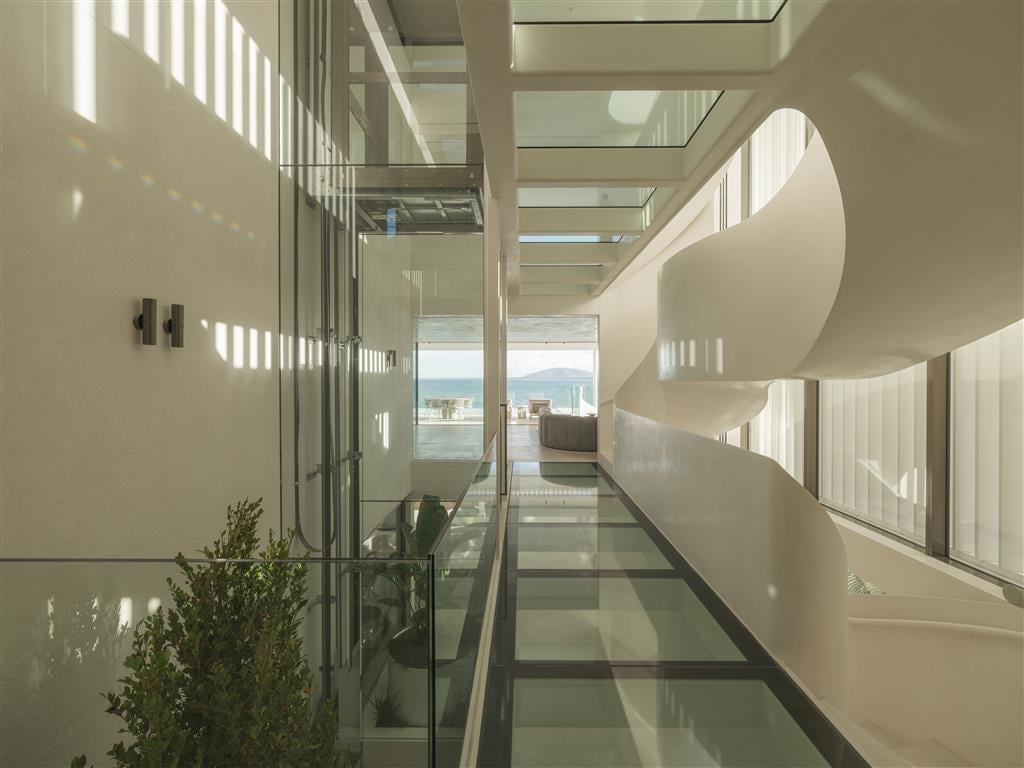
The most frequent mistakes are incorrect door opening dimensions (too small or too large), inadequate backing behind cladding or panels, cladding that prevents full door swing, and button box openings cut before the door is installed.
We also see undersized framing that sags under load, wall finishes applied before the elevator is fitted (which then prevent proper sealing), and electrical conduit drilled through the wall thickness without engineer approval. Following this door preparation guide carefully eliminates 95% of delays. We provide a Final Drawing for sign-off showing all critical measurements, and we recommend your builder reference it before any finishing work begins.
Door opening dimensions depend on your chosen elevator series and door type (swing or sliding). We provide detailed engineering drawings showing the exact opening dimensions required for your specific configuration during the design phase.
These dimensions must be accurate to within plus or minus 3/16" to ensure the doors align properly and operate smoothly. The wall thickness must match the door thickness (typically 2-1/8" for standard installations). We work closely with your builder to confirm all opening dimensions before any structural work begins, and we recommend a final dimensional check on site before finishing.
Cladding applied to elevator door frames must not exceed 3/16" thickness, with 1/8" being our preferred maximum. Thicker cladding can interfere with door sealing, alignment, and operation.
Common cladding materials include wood veneer, engineered wood, laminate, or composite materials. All cladding must be applied using approved adhesive, nails, or screws without penetrating through to the other side. On the hinge side, reduce or omit cladding for adequate door swing clearance. We provide detailed guidance on how to prepare the door frame and apply cladding correctly to stay within tolerance.
A flush hotel-style finish means the elevator door frame sits level with the surrounding wall, with no gaps or offset. To achieve this, build the door opening with continuous, level backing on all sides (typically 8" nominal concrete block extending 4" beyond the opening above and below).
Cladding must be carefully aligned so the finished surface is flush and level. After the door is installed, your cabinetmaker can apply matching finishes (paint, veneer, or panels) over the entire wall area around the door, creating a seamless aesthetic. We provide guidance on frame preparation and recommend coordination between our team and your cabinetmaker before any finishing work begins.
Yes. Your cabinetmaker can wrap the elevator door frame with matching wood veneer, laminate, or other materials to create a seamless integration with surrounding cabinetry and finishes. This creates a bespoke, built-in appearance.
The key requirement is that cladding thickness does not exceed 3/16" (1/8" preferred), and it must not interfere with door operation, sealing, or alignment. After the elevator is installed and operational, we can advise your cabinetmaker on safe cladding techniques and material placement. We recommend involving your cabinetmaker early in the design phase so we can factor cladding into the door frame preparation and opening dimensions.
The call button opening must be cut only after the elevator door is installed and the frame is fully secured. Cutting the opening before installation can create structural weakness or misalignment.
The call button is typically positioned approximately 36" above the finished floor, on the side near the door handle, for convenient reach. After the door is installed, we mark the exact button opening location and your builder cuts the opening to our specification. Maximum material thickness behind the button plate is 1/8". The builder then trims and finishes the button box surround to match the surrounding wall.
The elevator sill should be level with the surrounding finished floor to within plus or minus 3/16". An acceptable floor lip is minimal - ideally none, and no more than 1/8" for wheelchair accessibility.
Any lip higher than 1/8" becomes an accessibility concern and a tripping hazard for all users. If the floors on either side of the doorway are at different elevations due to the building structure, we work with your builder to minimize the step. We measure the surrounding finished floor during site assessment and provide guidance on achieving level sill alignment during construction.
Yes. We provide a detailed Final Drawing showing all critical door opening dimensions, sill elevation, button placement, and cladding tolerances for your builder and building inspector to sign off before finishing work begins. This drawing is specific to your project and serves as the single source of truth for construction.
Finished floor elevation (FFE) is the elevation of the completed floor surface after all flooring materials (tile, hardwood, carpet, etc.) are installed. It does not include the subfloor, slab, or underlayment - only the final walking surface. We confirm FFE with your builder early in construction and reference it in all dimensional drawings to ensure consistency throughout the project.
Before we install the elevator, the following must be complete: the shaft must be constructed and inspected, the door opening frame must be in place and dimensionally verified, all structural backing and wall finishes around the door must be complete, and the floor sill area must be finished to final elevation.
Electrical power must be run to the elevator location and tested. Any cladding or panel work around the door can proceed after installation, but the underlying structure must be solid and finished. Wall paint and final cosmetic finishes can occur after our installation, but we recommend they happen after testing to avoid damage. We work closely with your project manager to schedule installation at the optimal point in your build sequence.
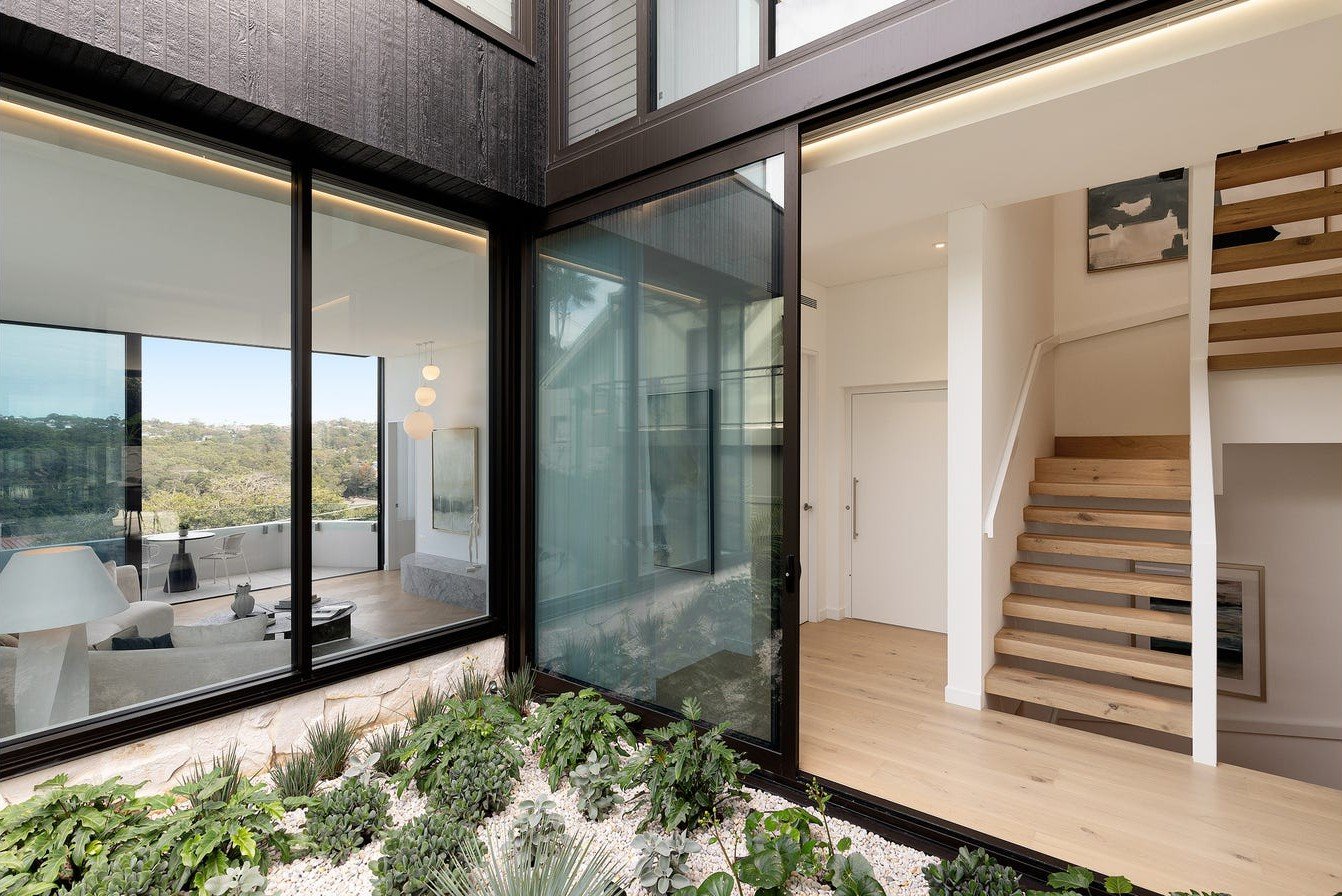
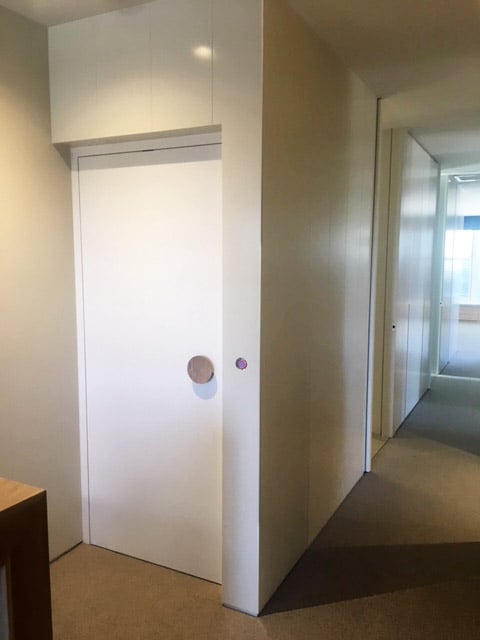
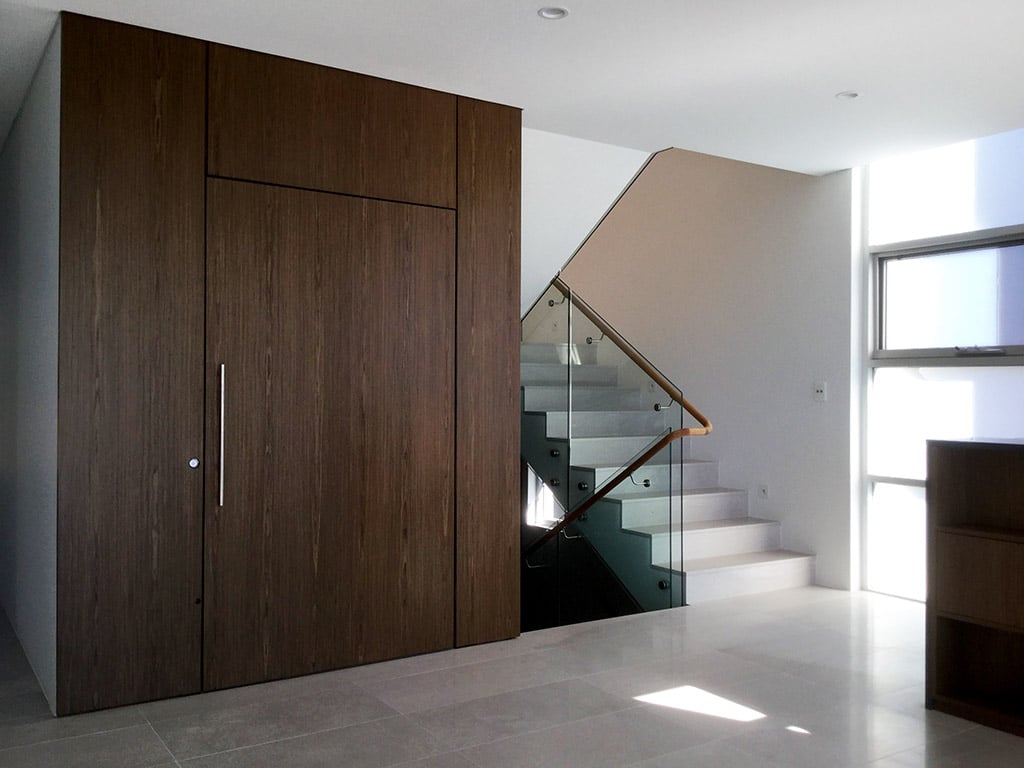
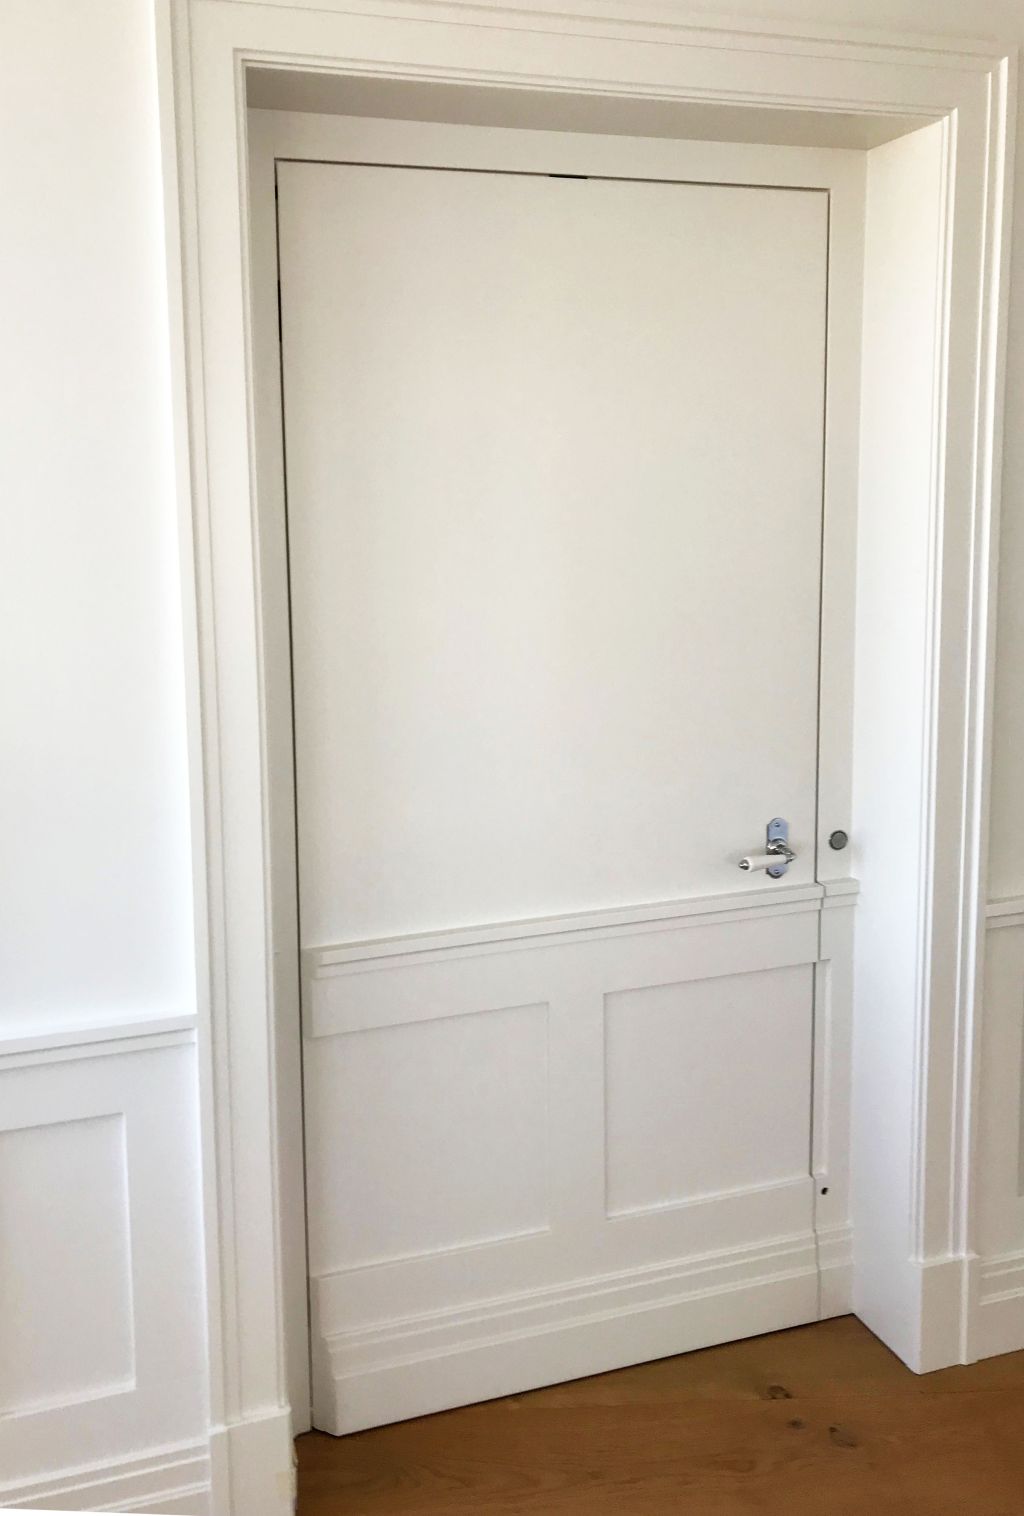
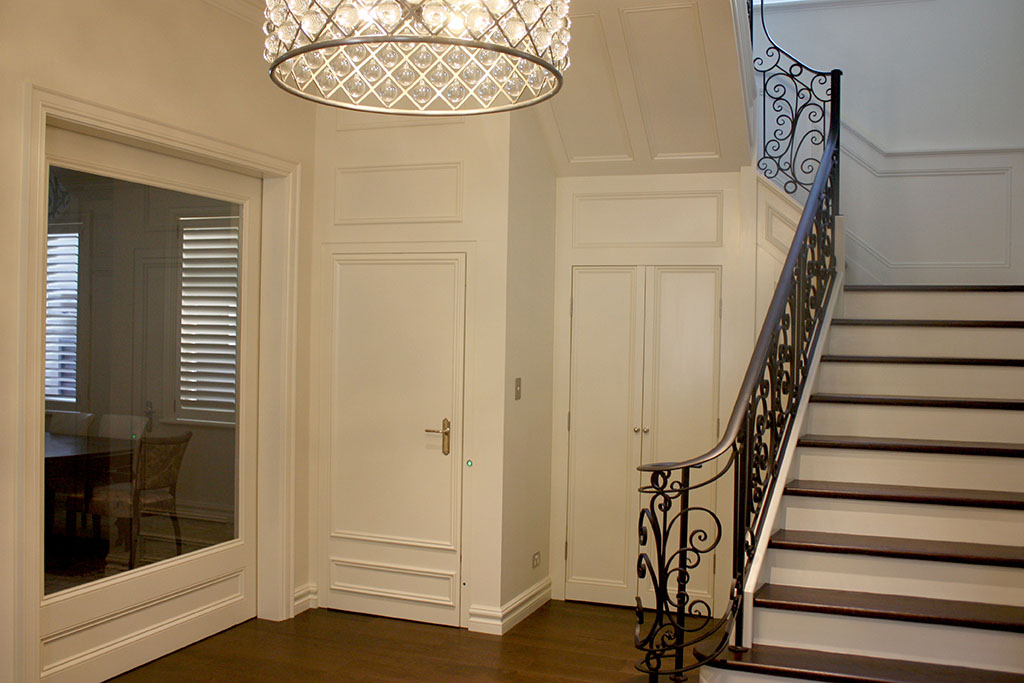
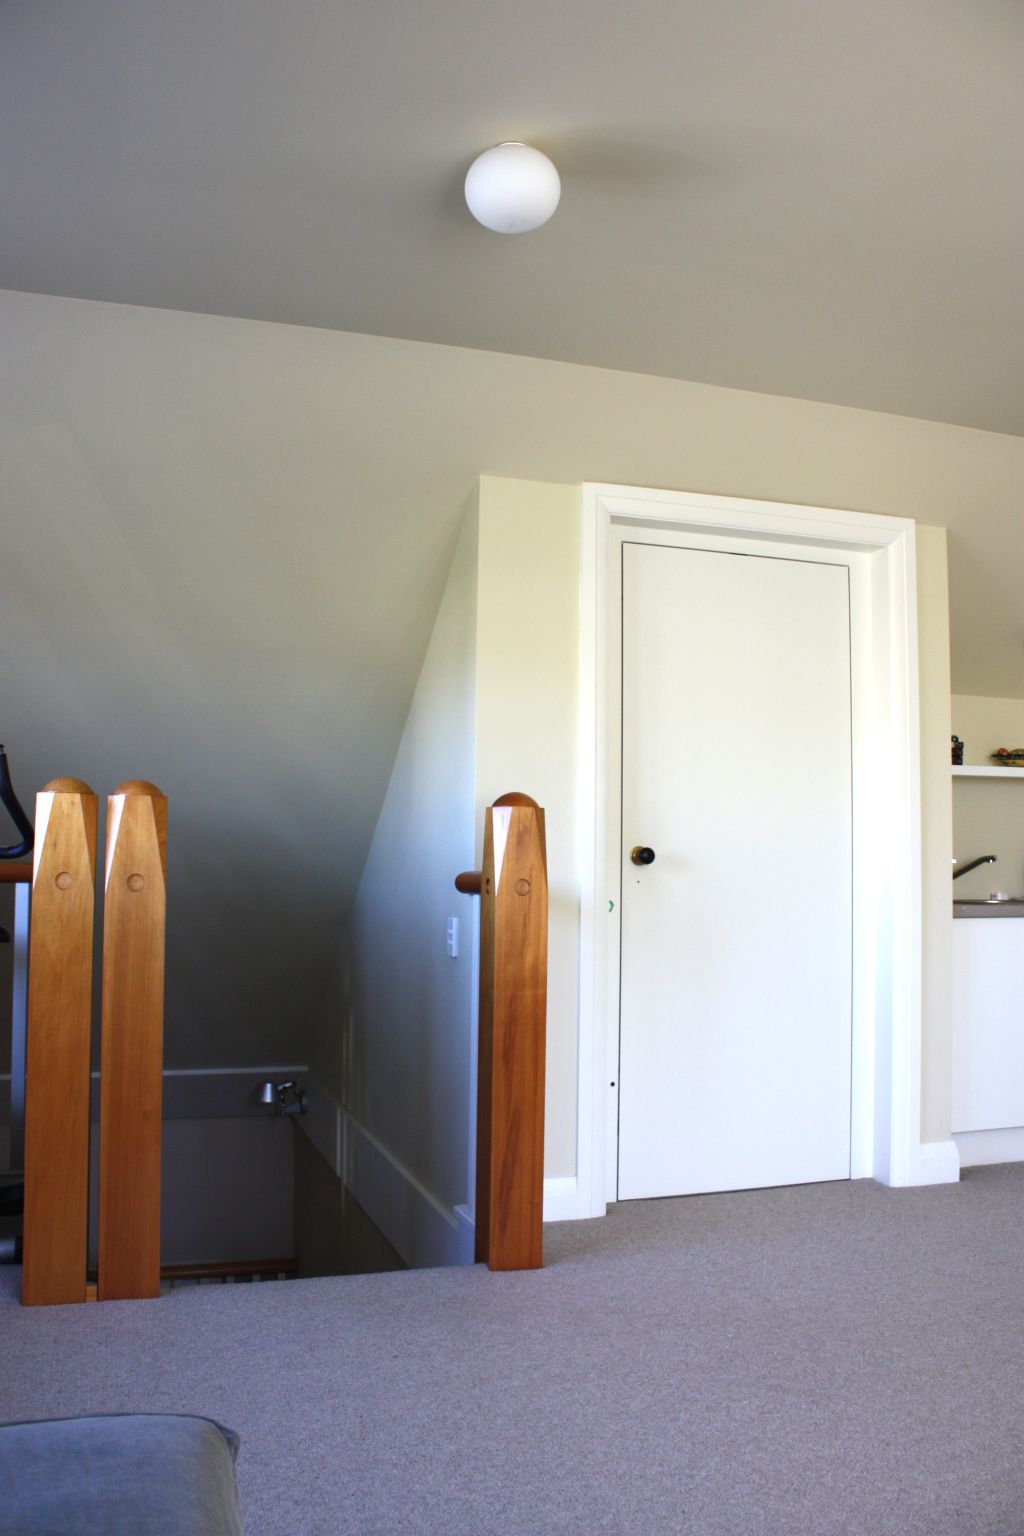
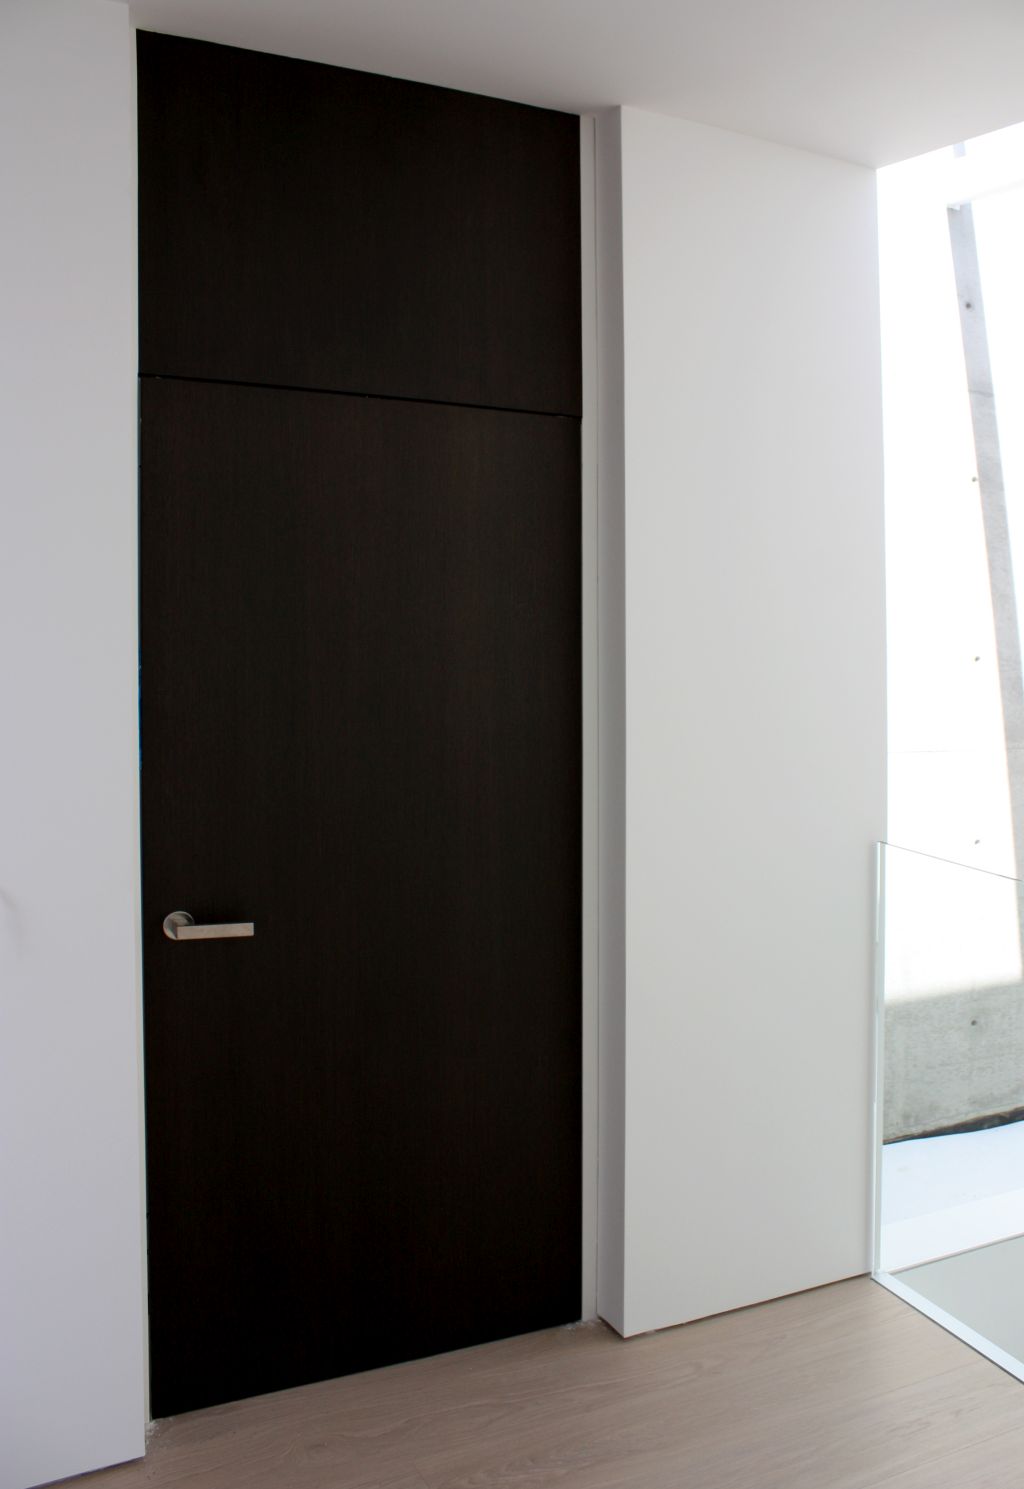
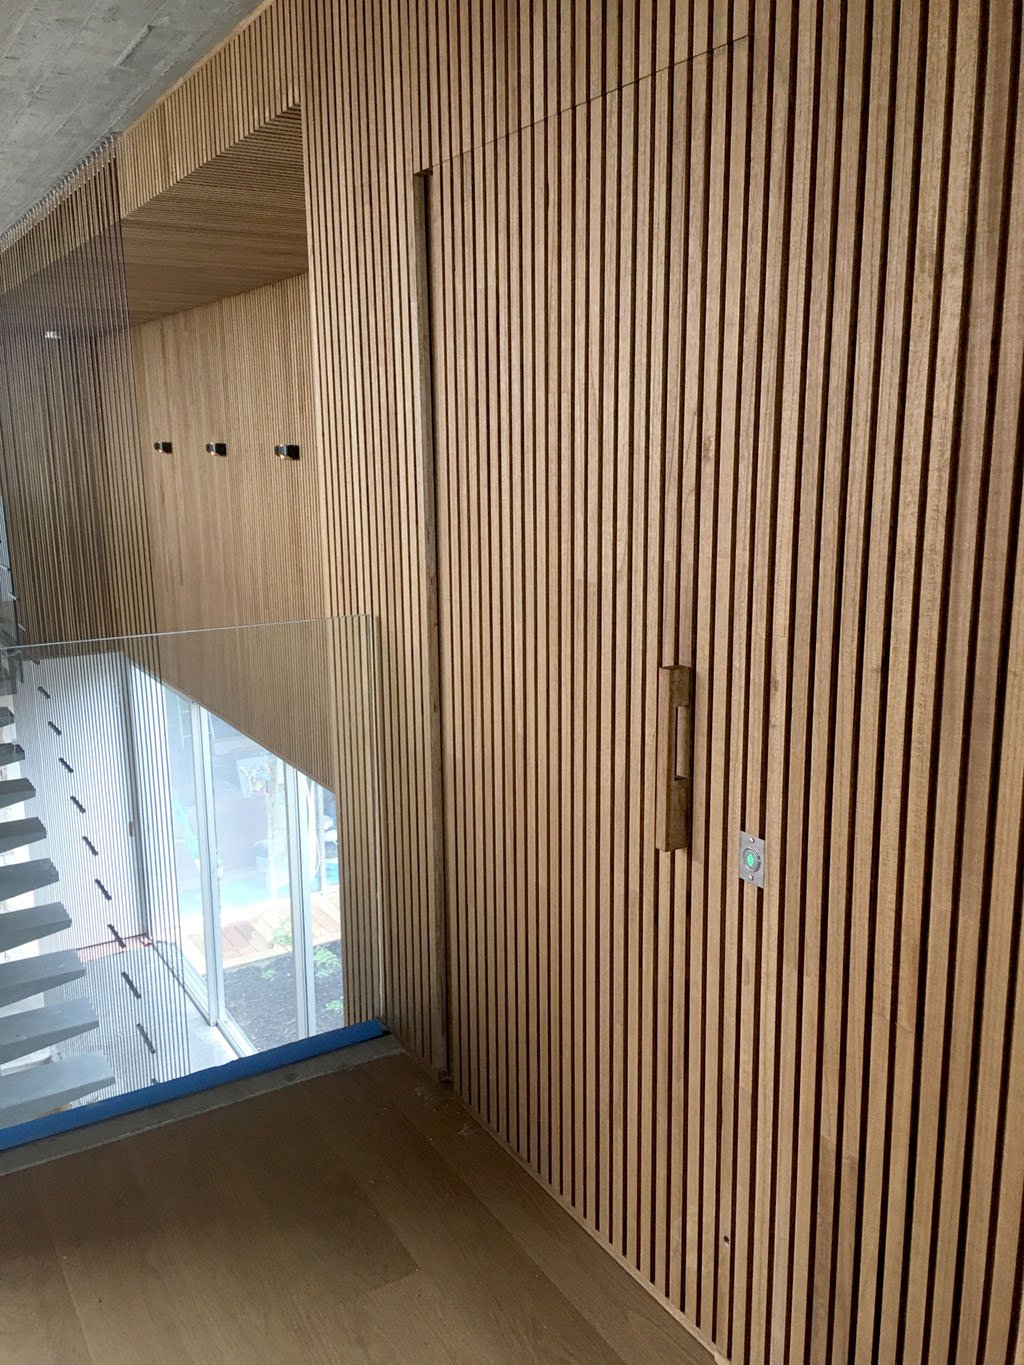
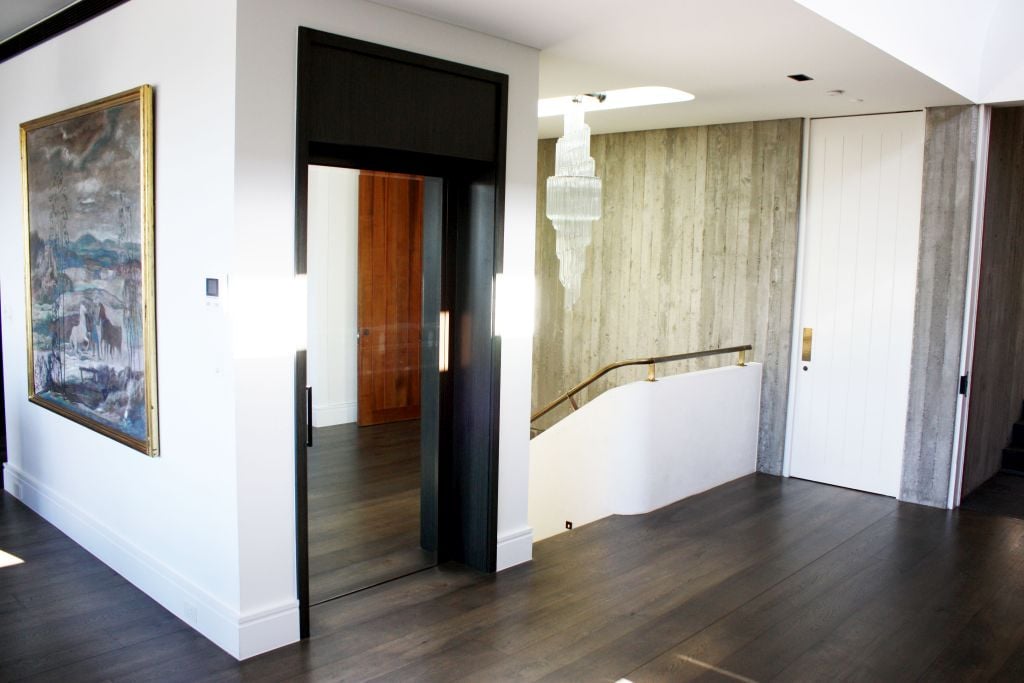
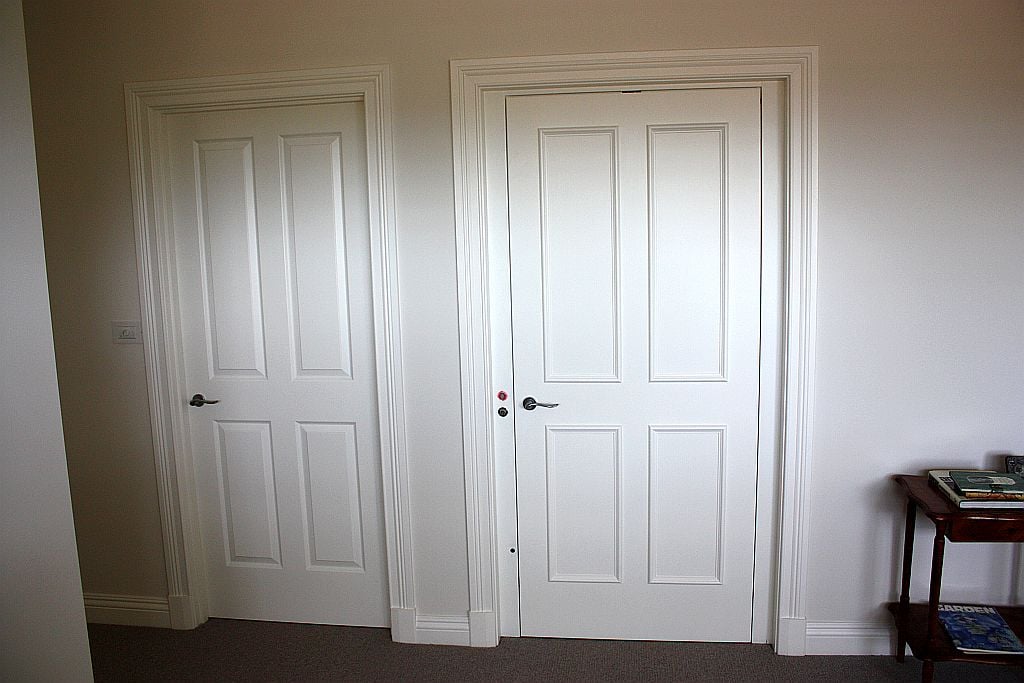
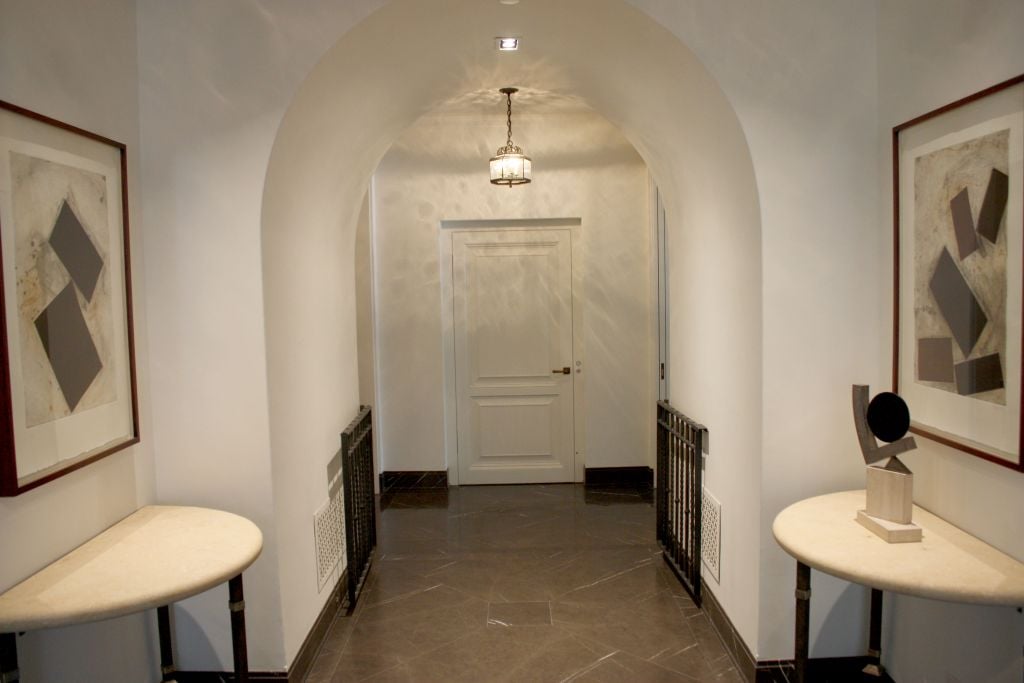
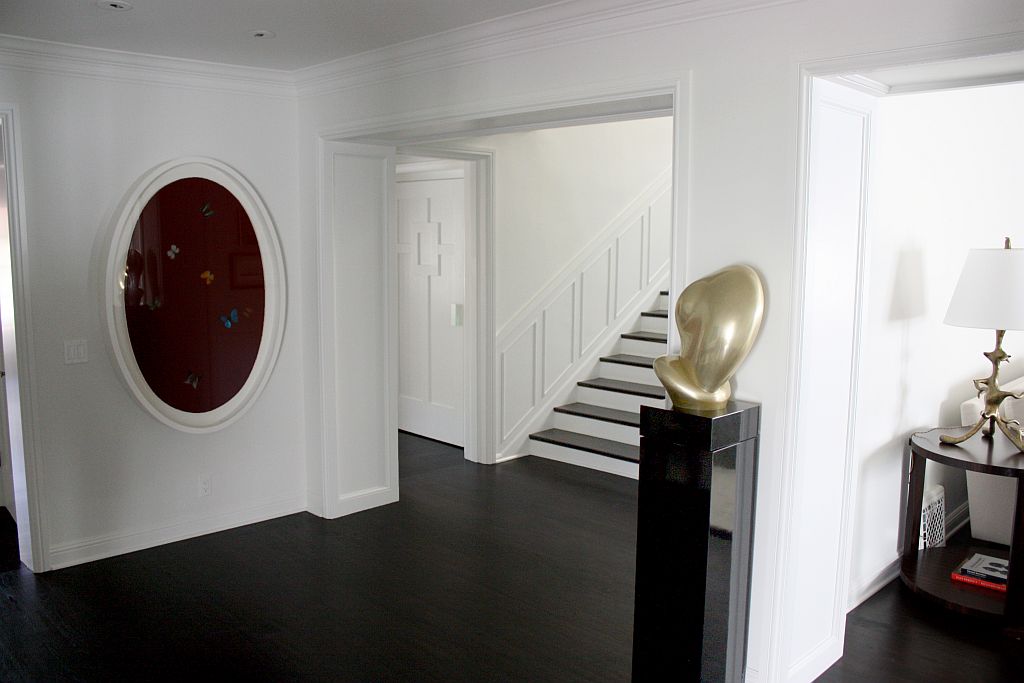
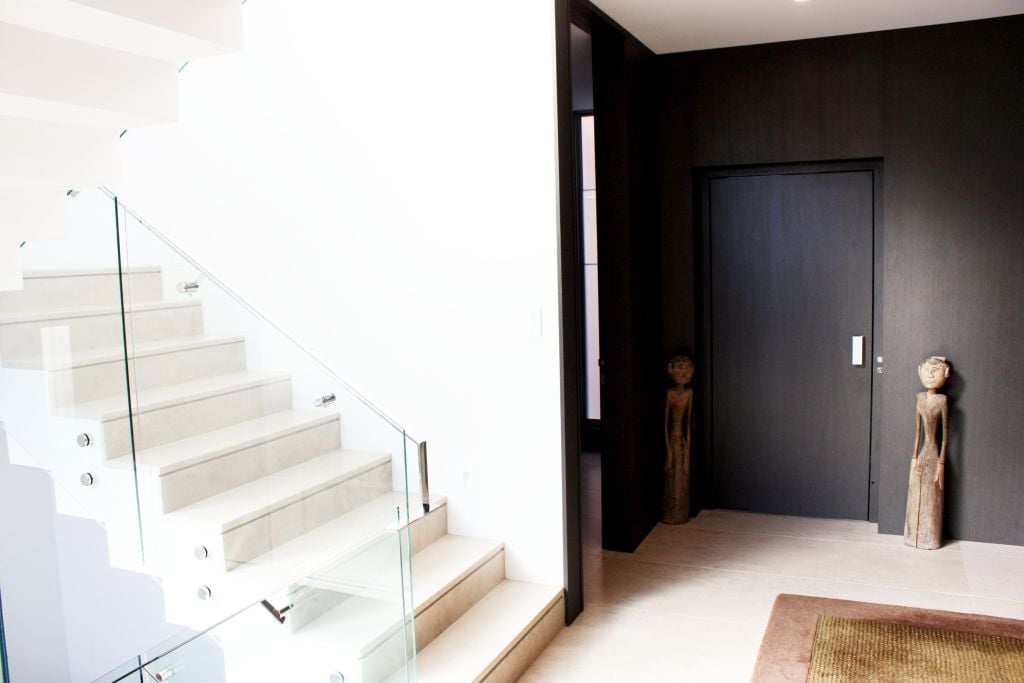
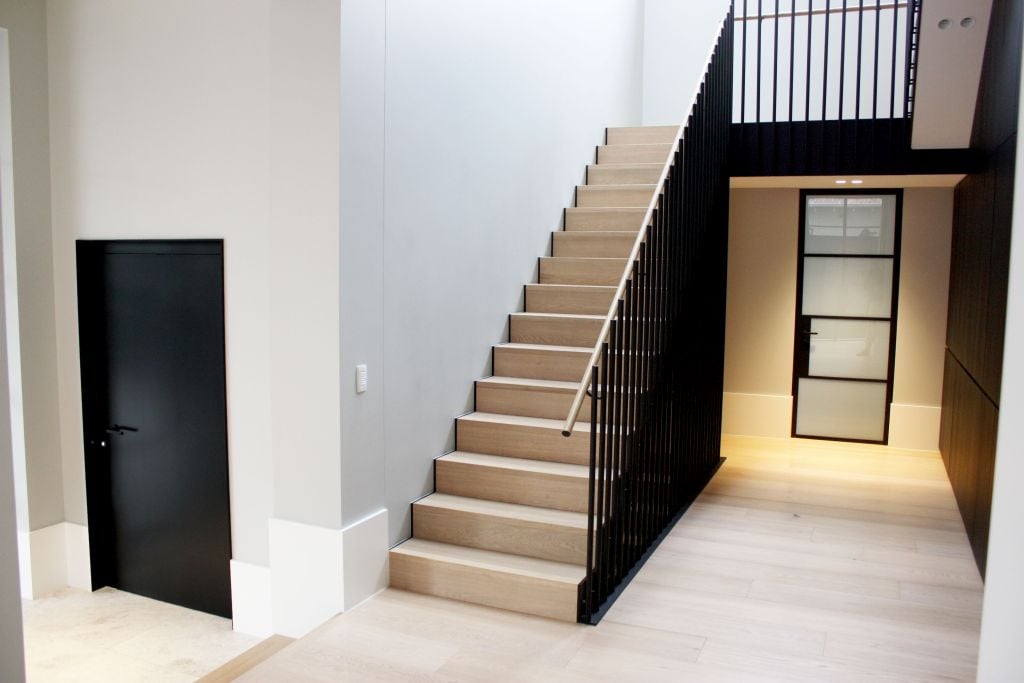
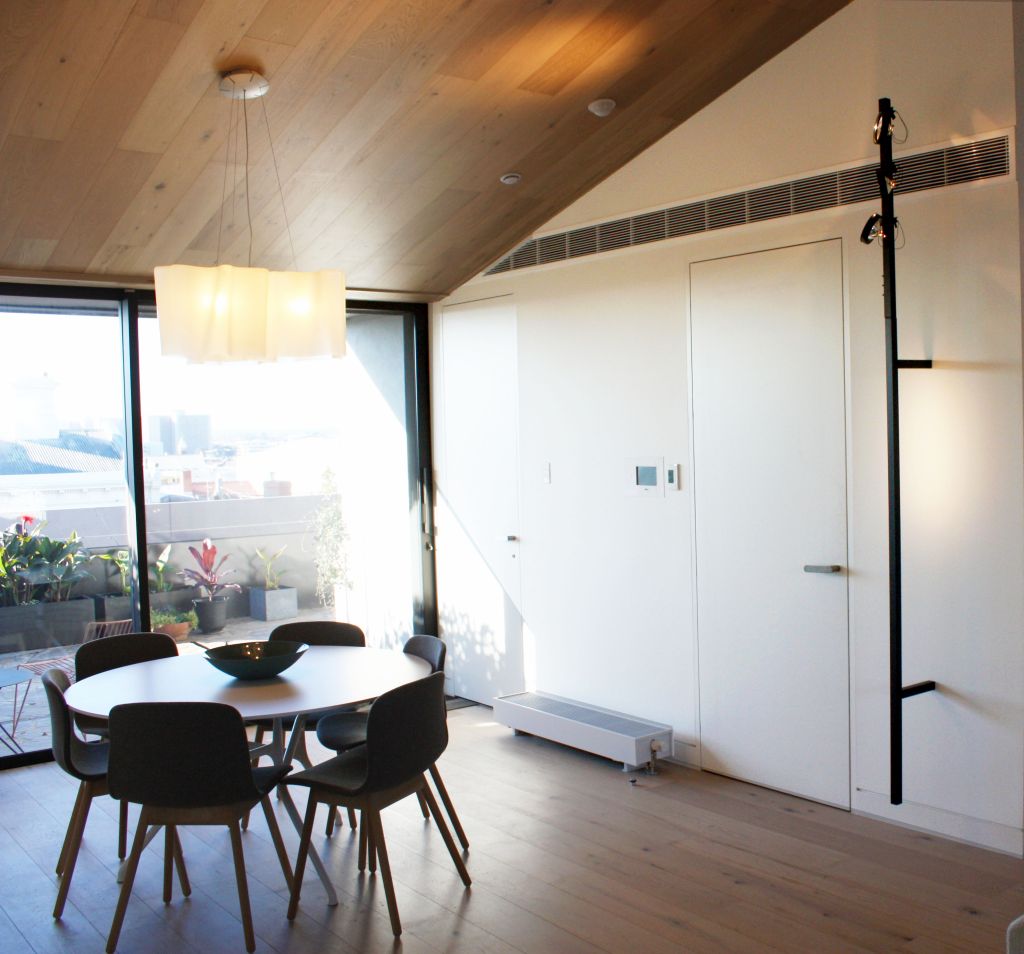
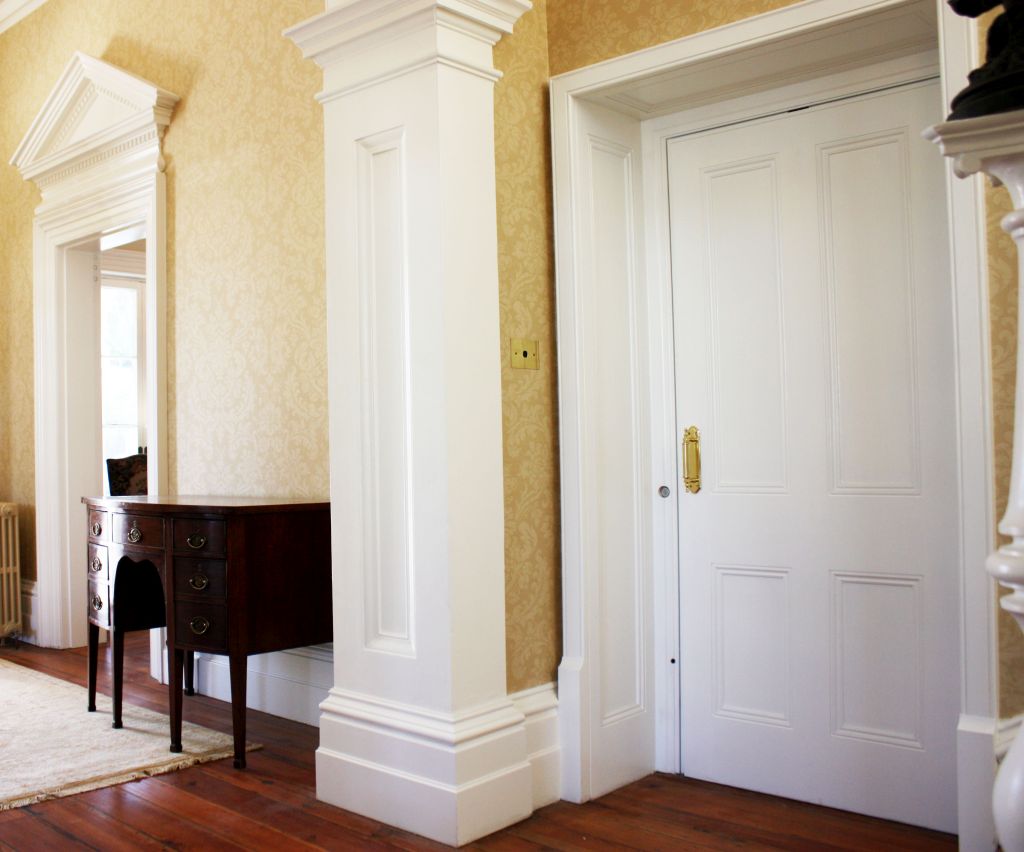
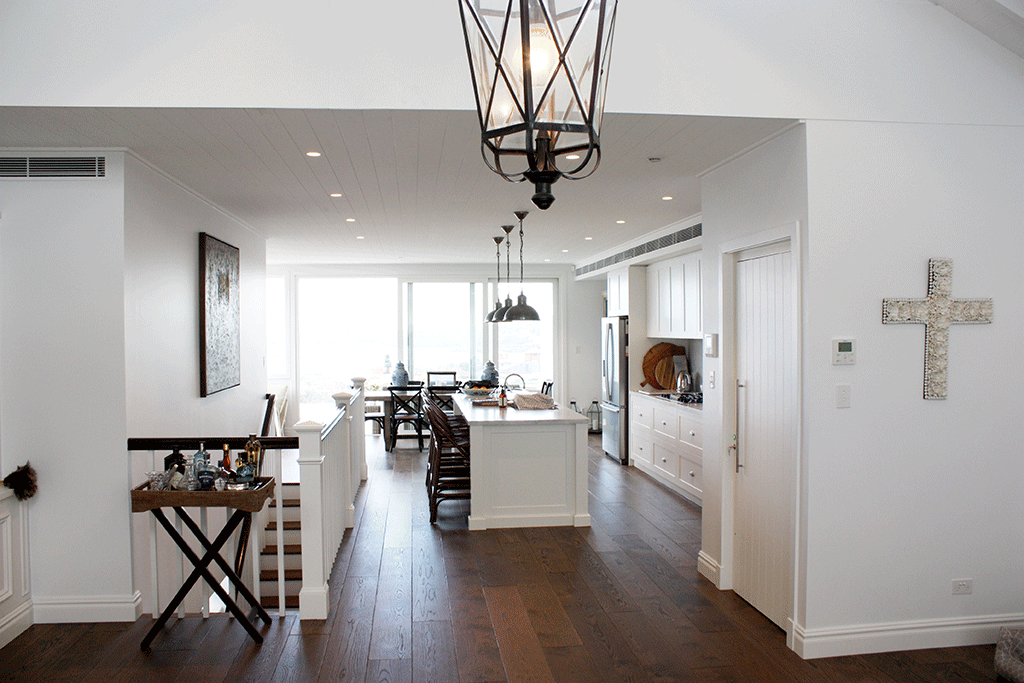
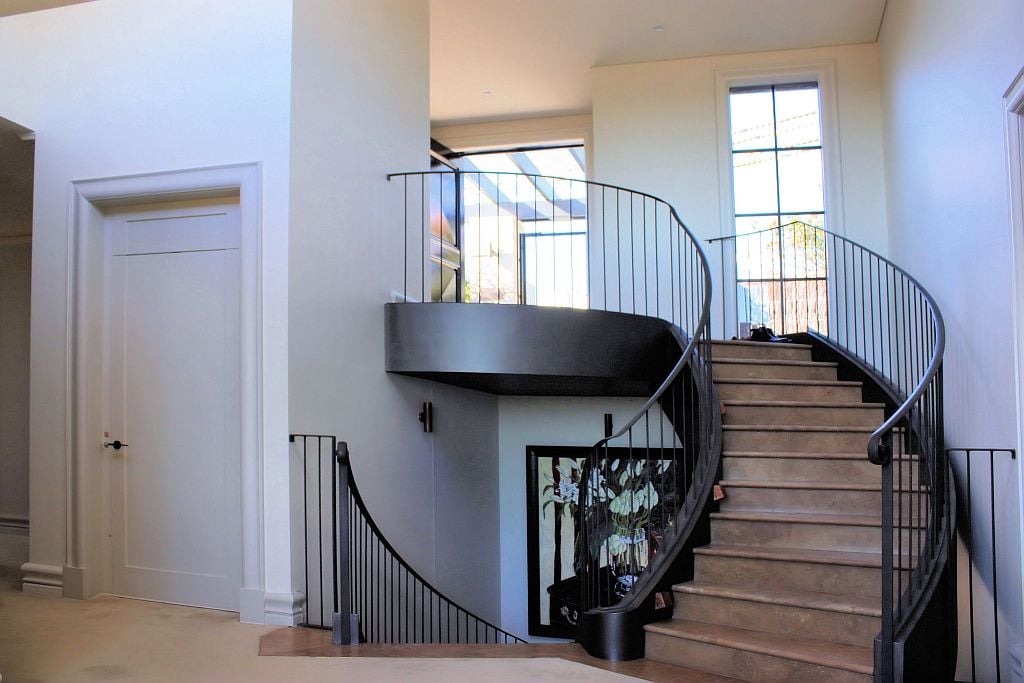
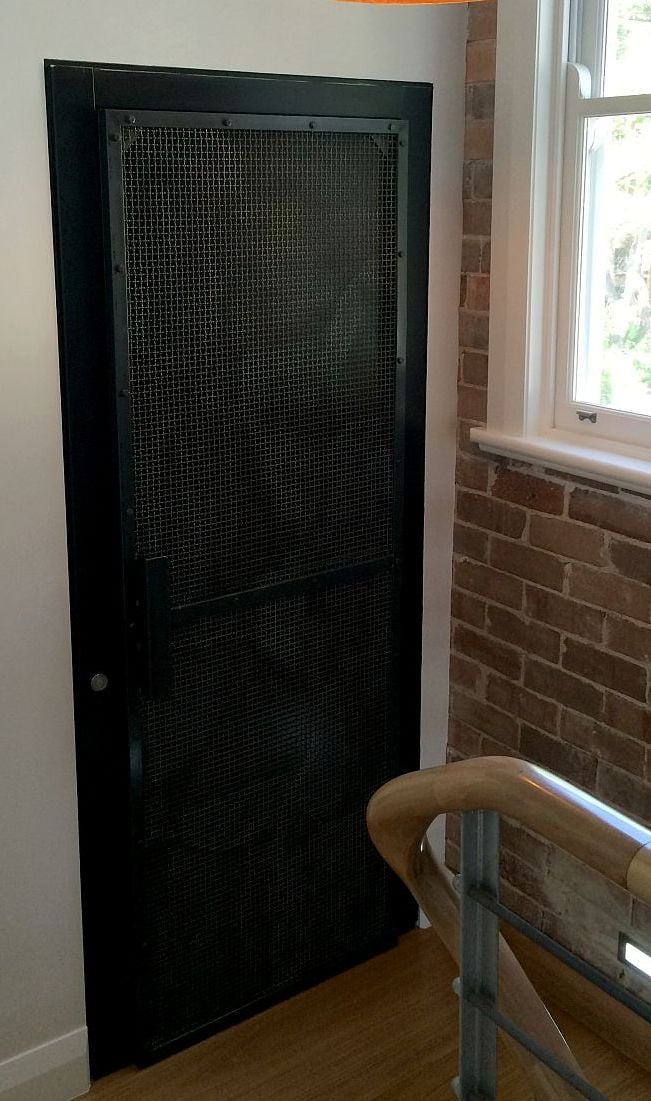
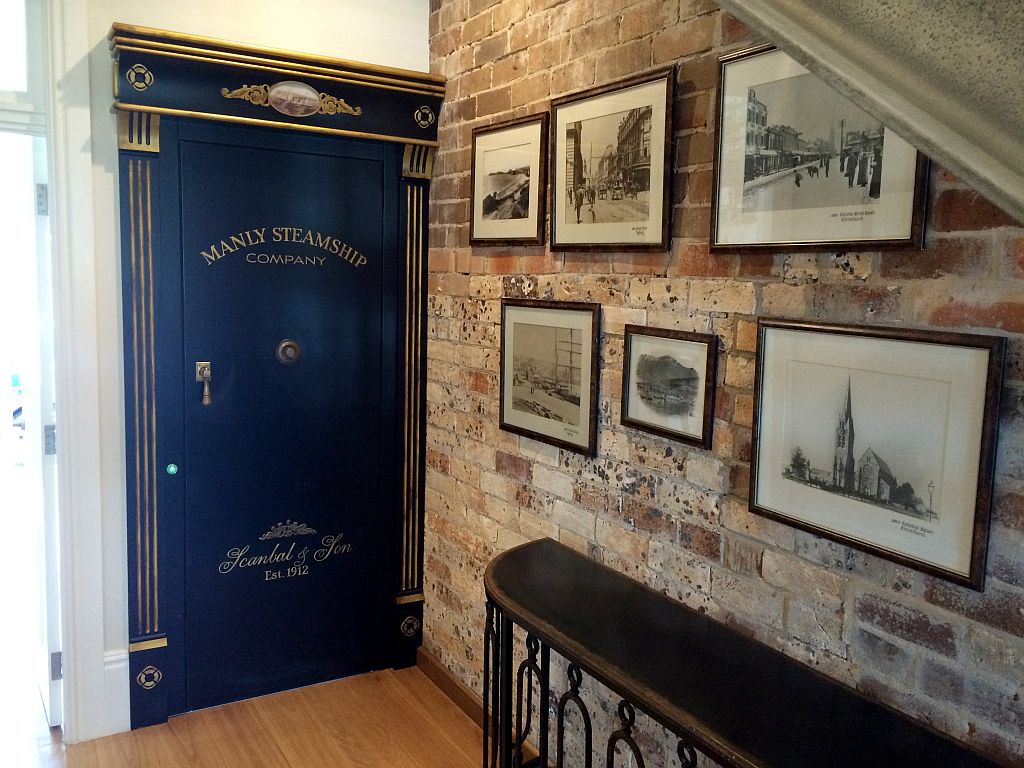
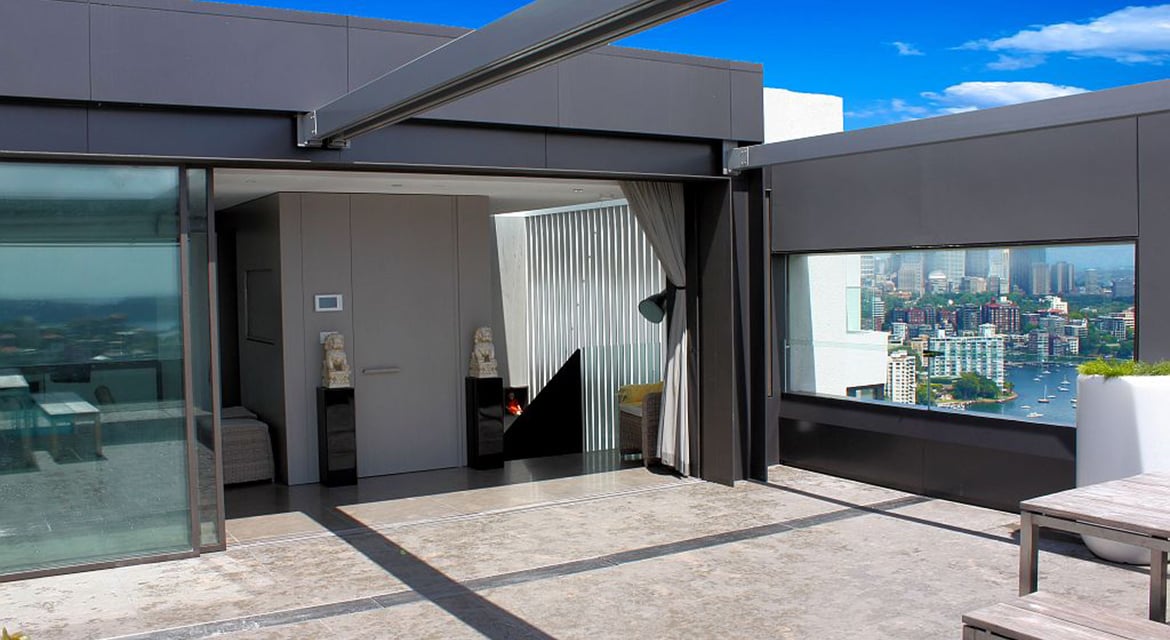
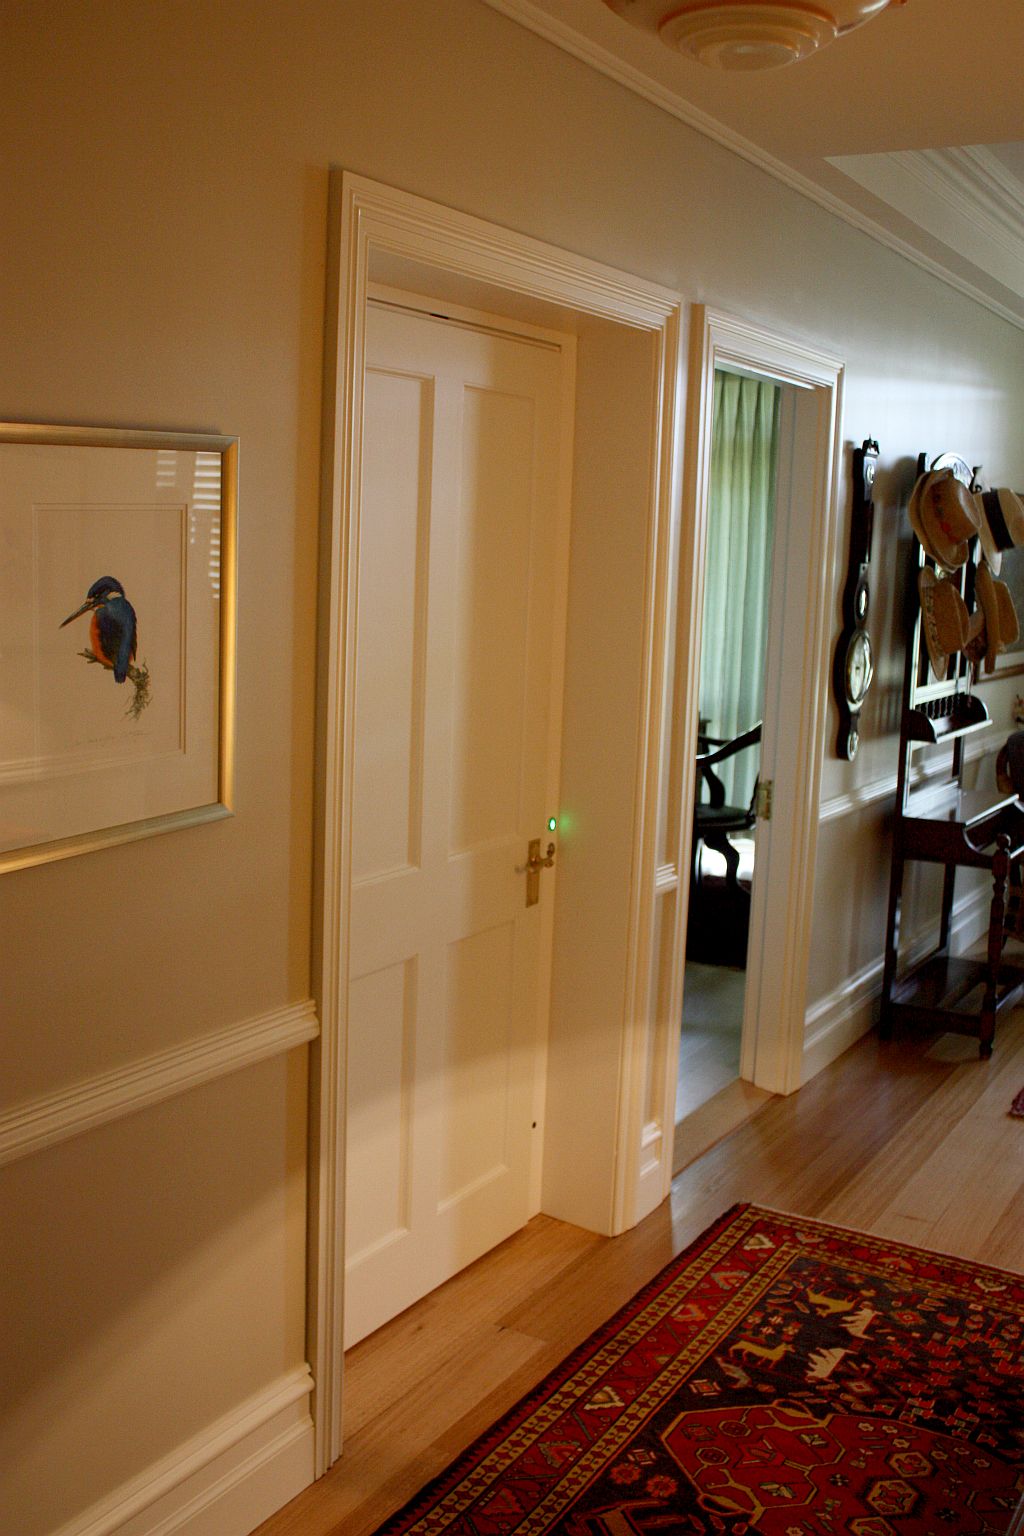
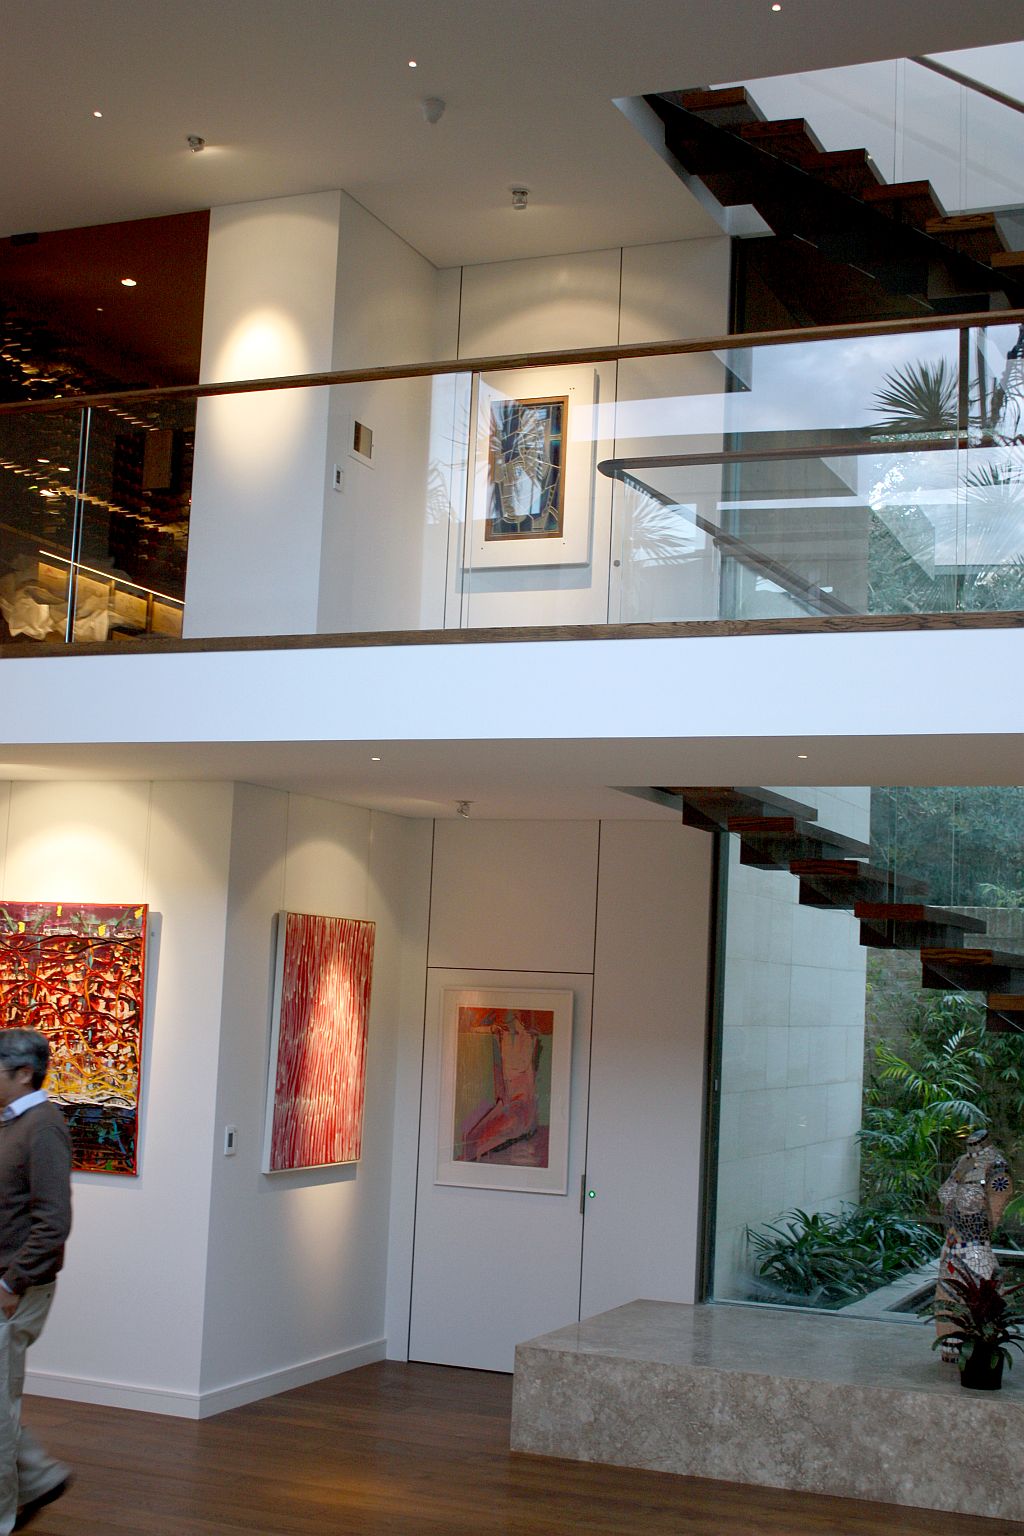
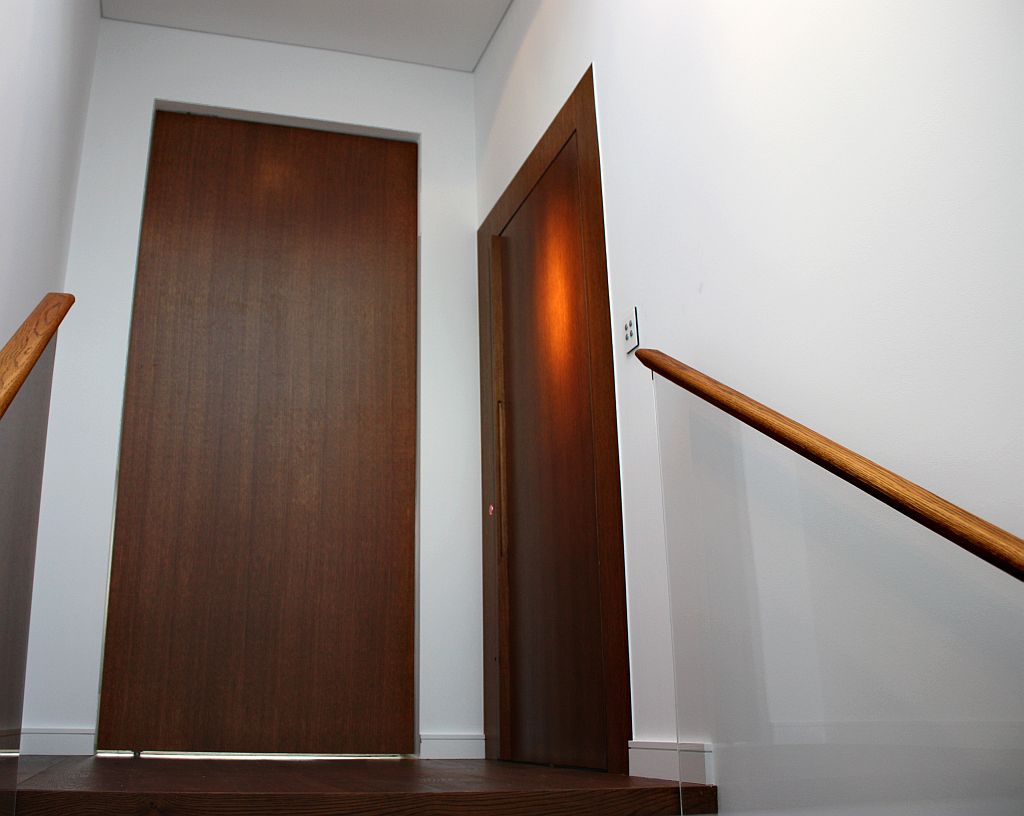
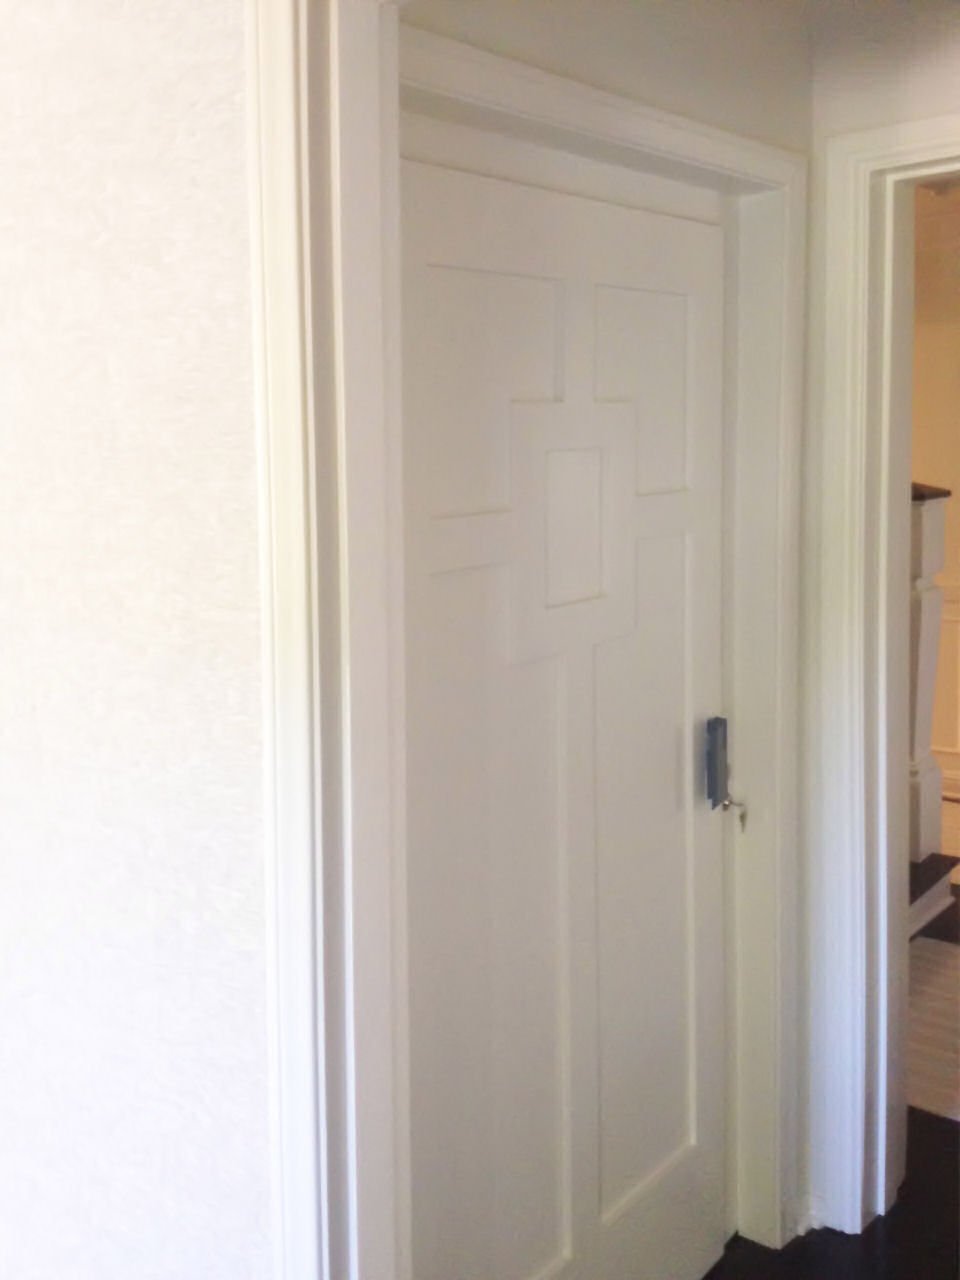
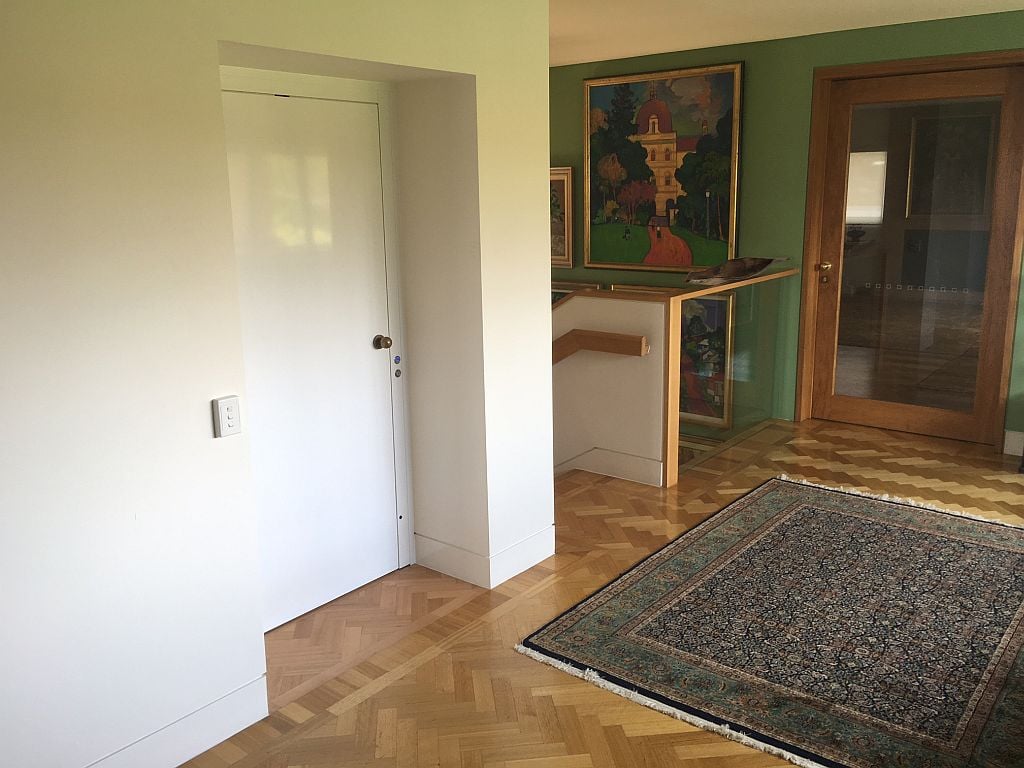
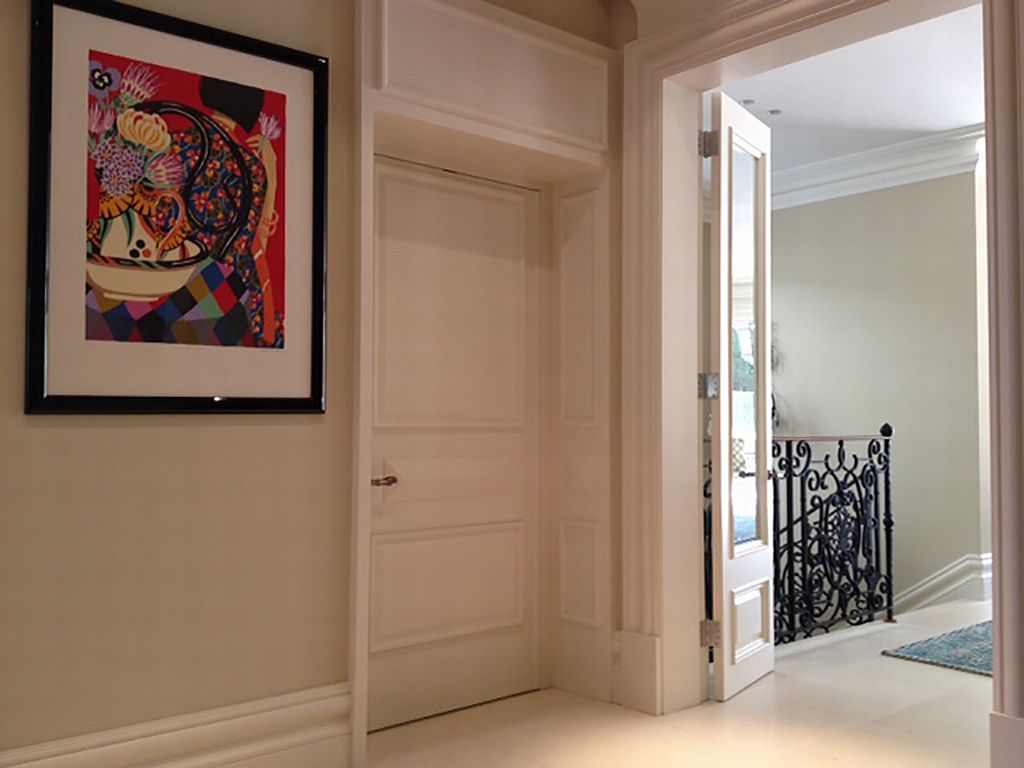
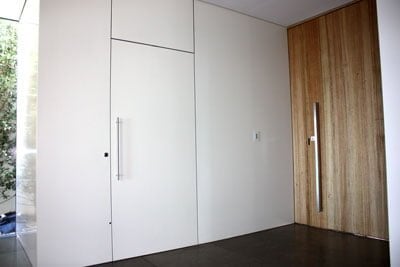
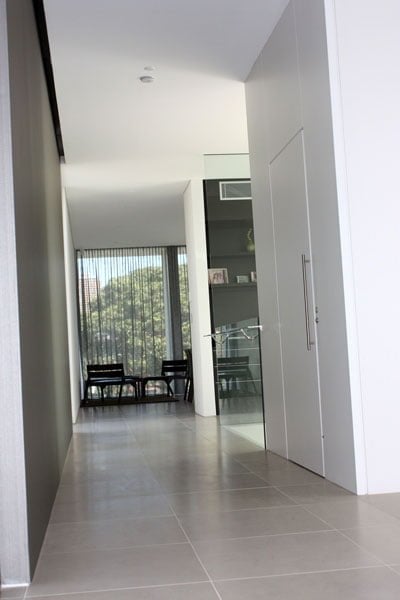
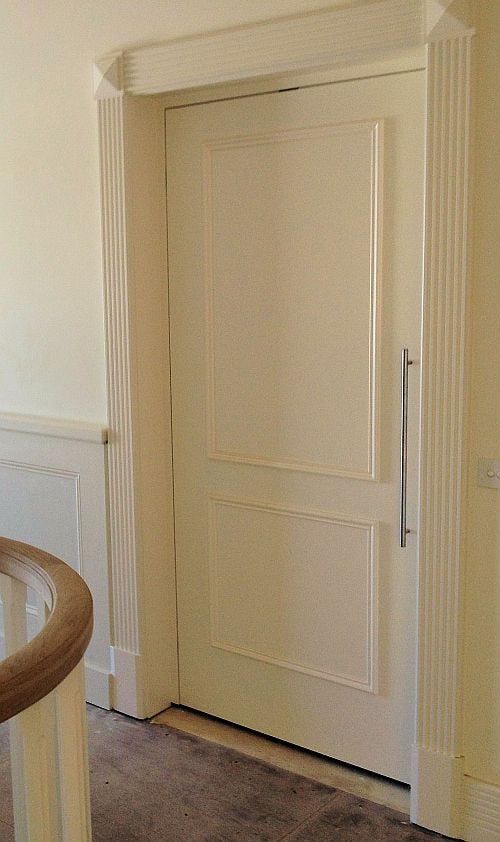
Correct door framing, finished openings, custom button plates, and completed installations for builder reference. Click any image to enlarge.
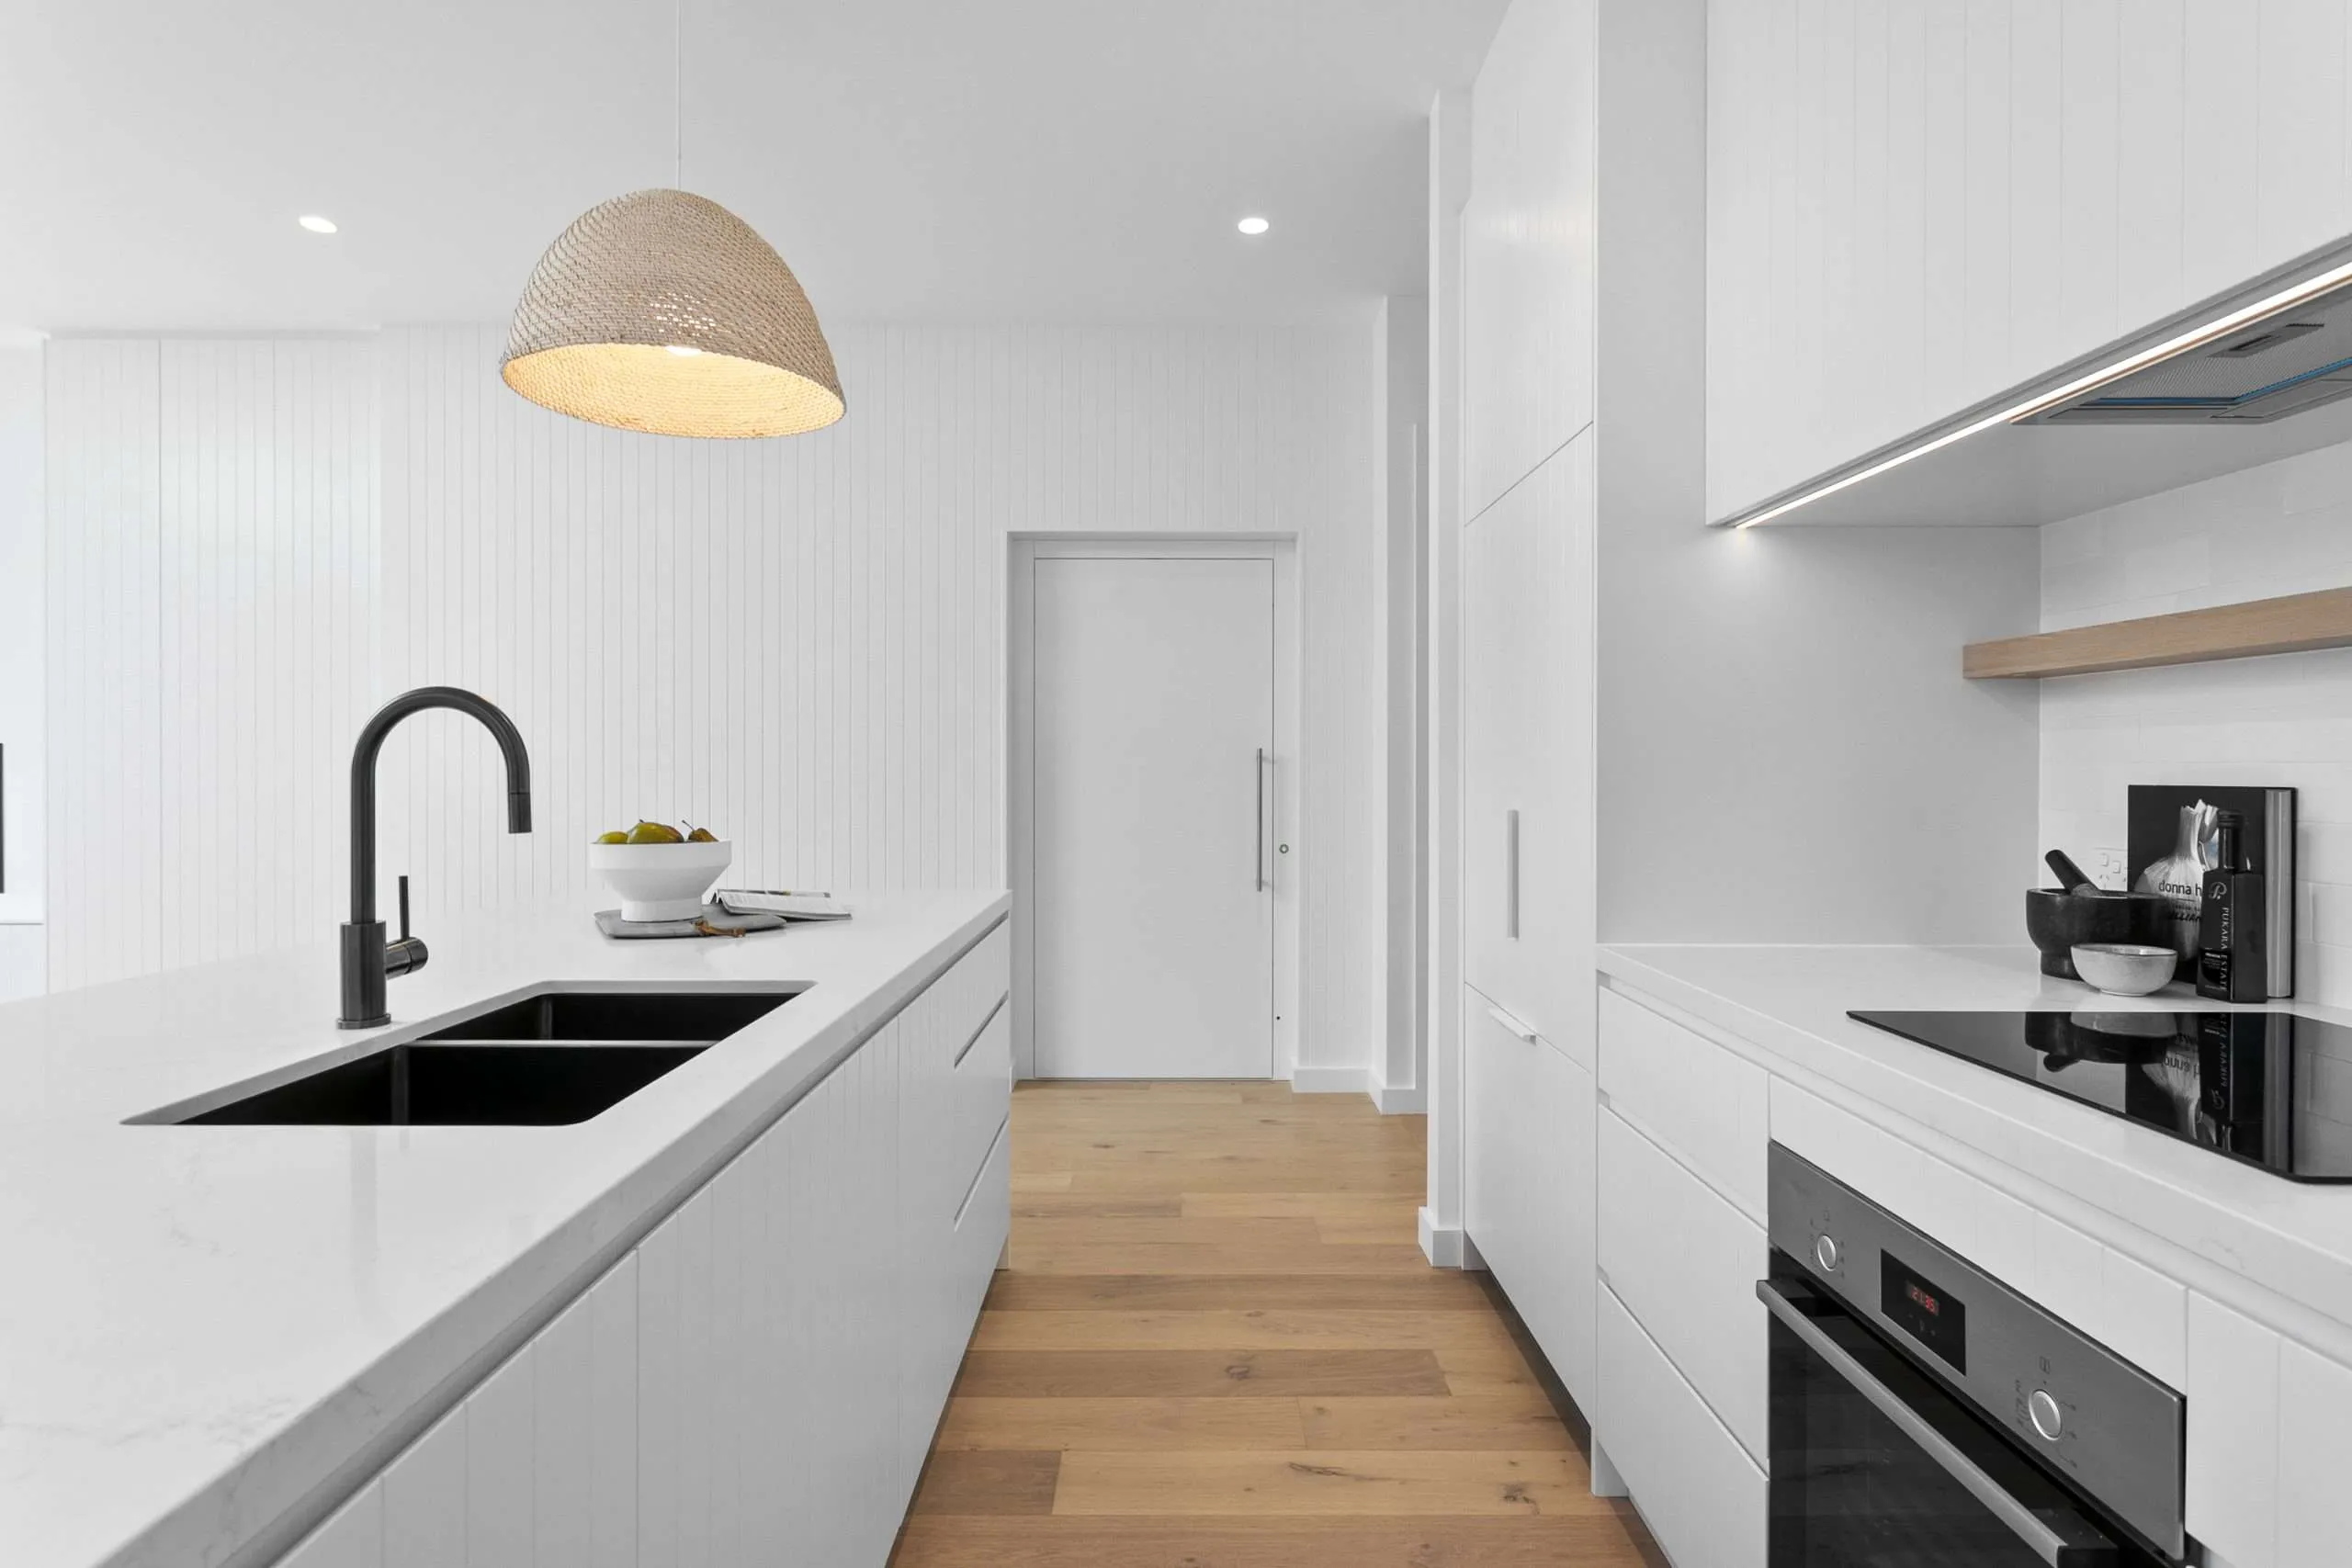
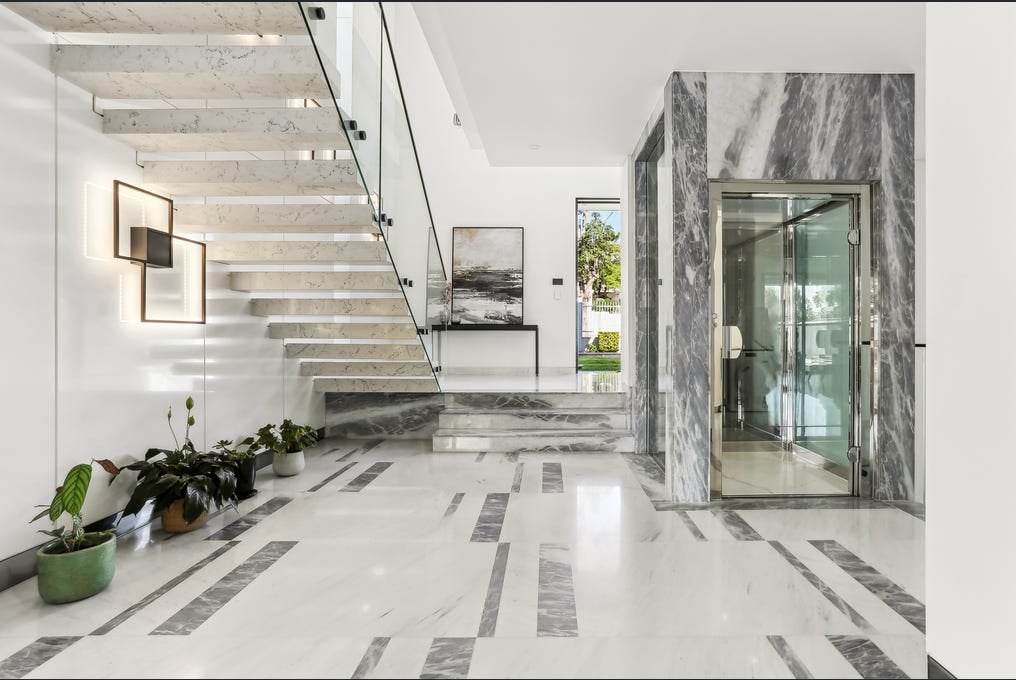
Visit the Elevator Boutique showroom in Fountain Valley, California and see the cabins, doors and glass options in person. Every Elevator Boutique elevator is backed by a 3-year warranty.